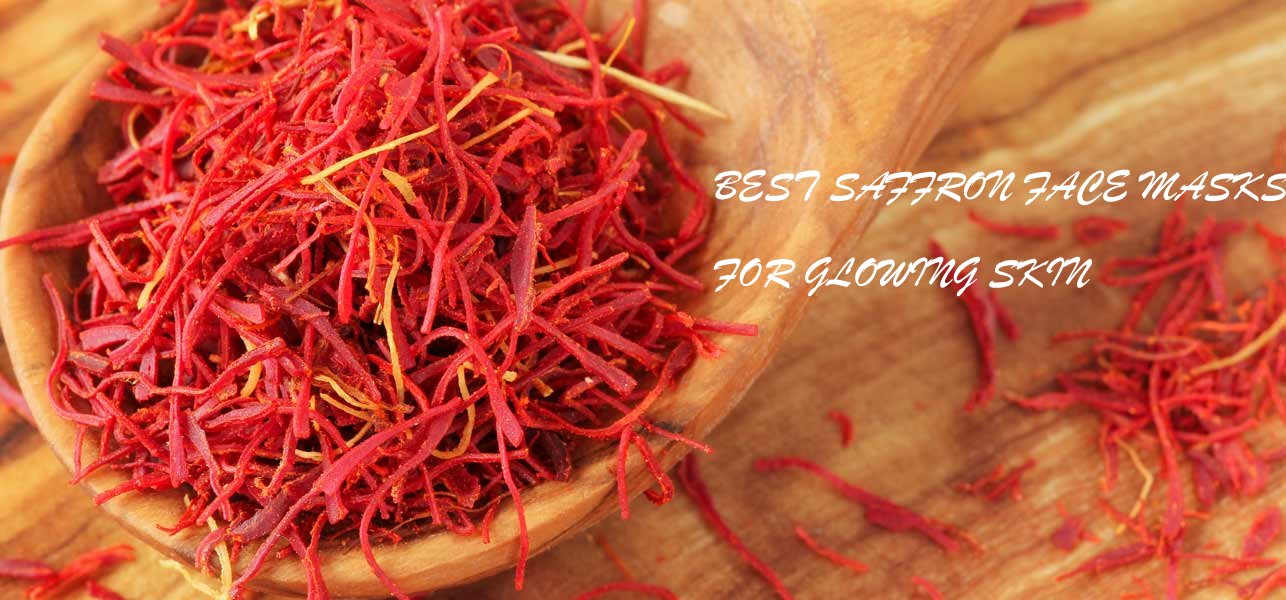
Best Saffron DIY Face Packs to Get Fair & Glowing Skin
By Nidhal
The bright red-coloured, minuscule strands of saffron (called Kesar in Hindi) are exactly what you need to incorporate in your skin care regimen. Saffron is one spice that is capable of burning a hole in your pocket. It is used for adding flavour to dishes. It is a rich source of health benefit nutrients like vitamins A, B, C, foliate and minerals like zinc, potassium and sodium that rejuvenate skin cells and promote the regeneration of new cells. It helps in the removal dark spots and blemishes.


So, let us concoct some skin treats from the comforts of your kitchen using saffron (kesar).
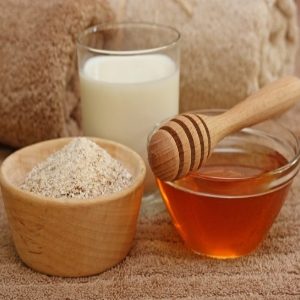
1. SAFFRON, RAW MILK & BESAN MASK
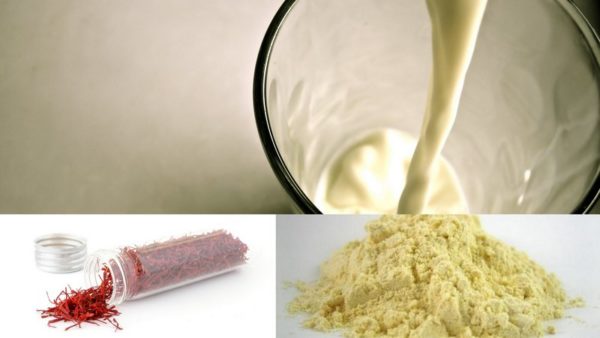

Saffron is an excellent skin toning agent. It helps in eliminating blackheads and unclogs clogged skin pores. Saffron also scavenges free radicals and promotes better circulation of blood, thereby ensuring that skin looks toned and firm.
Raw milk, rich in B-vitamins, alpha hydroxy acids, calcium and other potent antioxidants, has innumerable skin benefits! It works to nourish skin cells from deep within and keep skin moisturized for long. Besan is used to cleanse and exfoliate skin.
PROCEDURE- Soak 3-4 saffron strands in raw milk for two hours. After that, the colour of the concoction will turn yellow wholly provided the saffron you have used is authentic. Add a tbsp. or two of besan flour and mix well. Apply on your face as well as neck. Let it dry for around 30 minutes and then, wash off. Feel rejuvenated, don’t you?
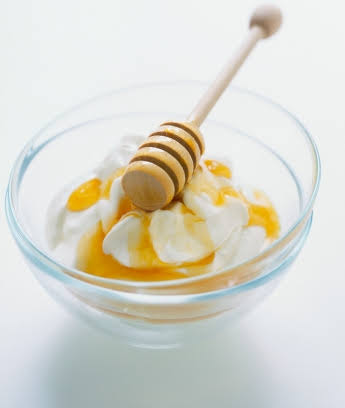
2. SAFFRON & CURD MASK
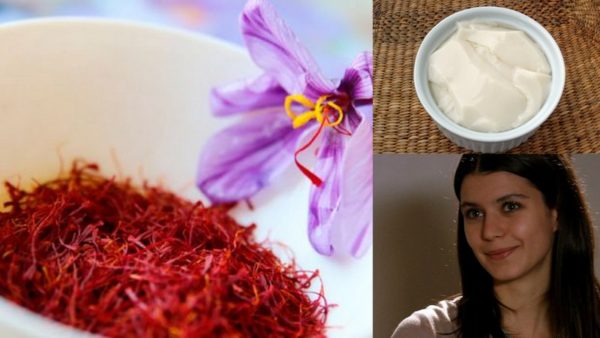
Packed with various vitamins such as A, C, and the B vitamins, saffron-the wonder ingredient is known to possess skin brightening properties. Acne and pimples can leave behind scars that take a long time to fade. Using curd and teaming it up with saffron will speed up the process of healing. Sounds exciting?
PROCEDURE- It is as simple as it gets. Just soak 3-4 strands of saffron in a heaped tbsp. of curd/yoghurt for two hours. Post two hours, the concoction will turn yellow completely given that the saffron you have purchased is authentic. Smear it generously on your face as well as neck. Let it dry. It will take around half an hour to dry. After this, wash off your face with adequate cold water.
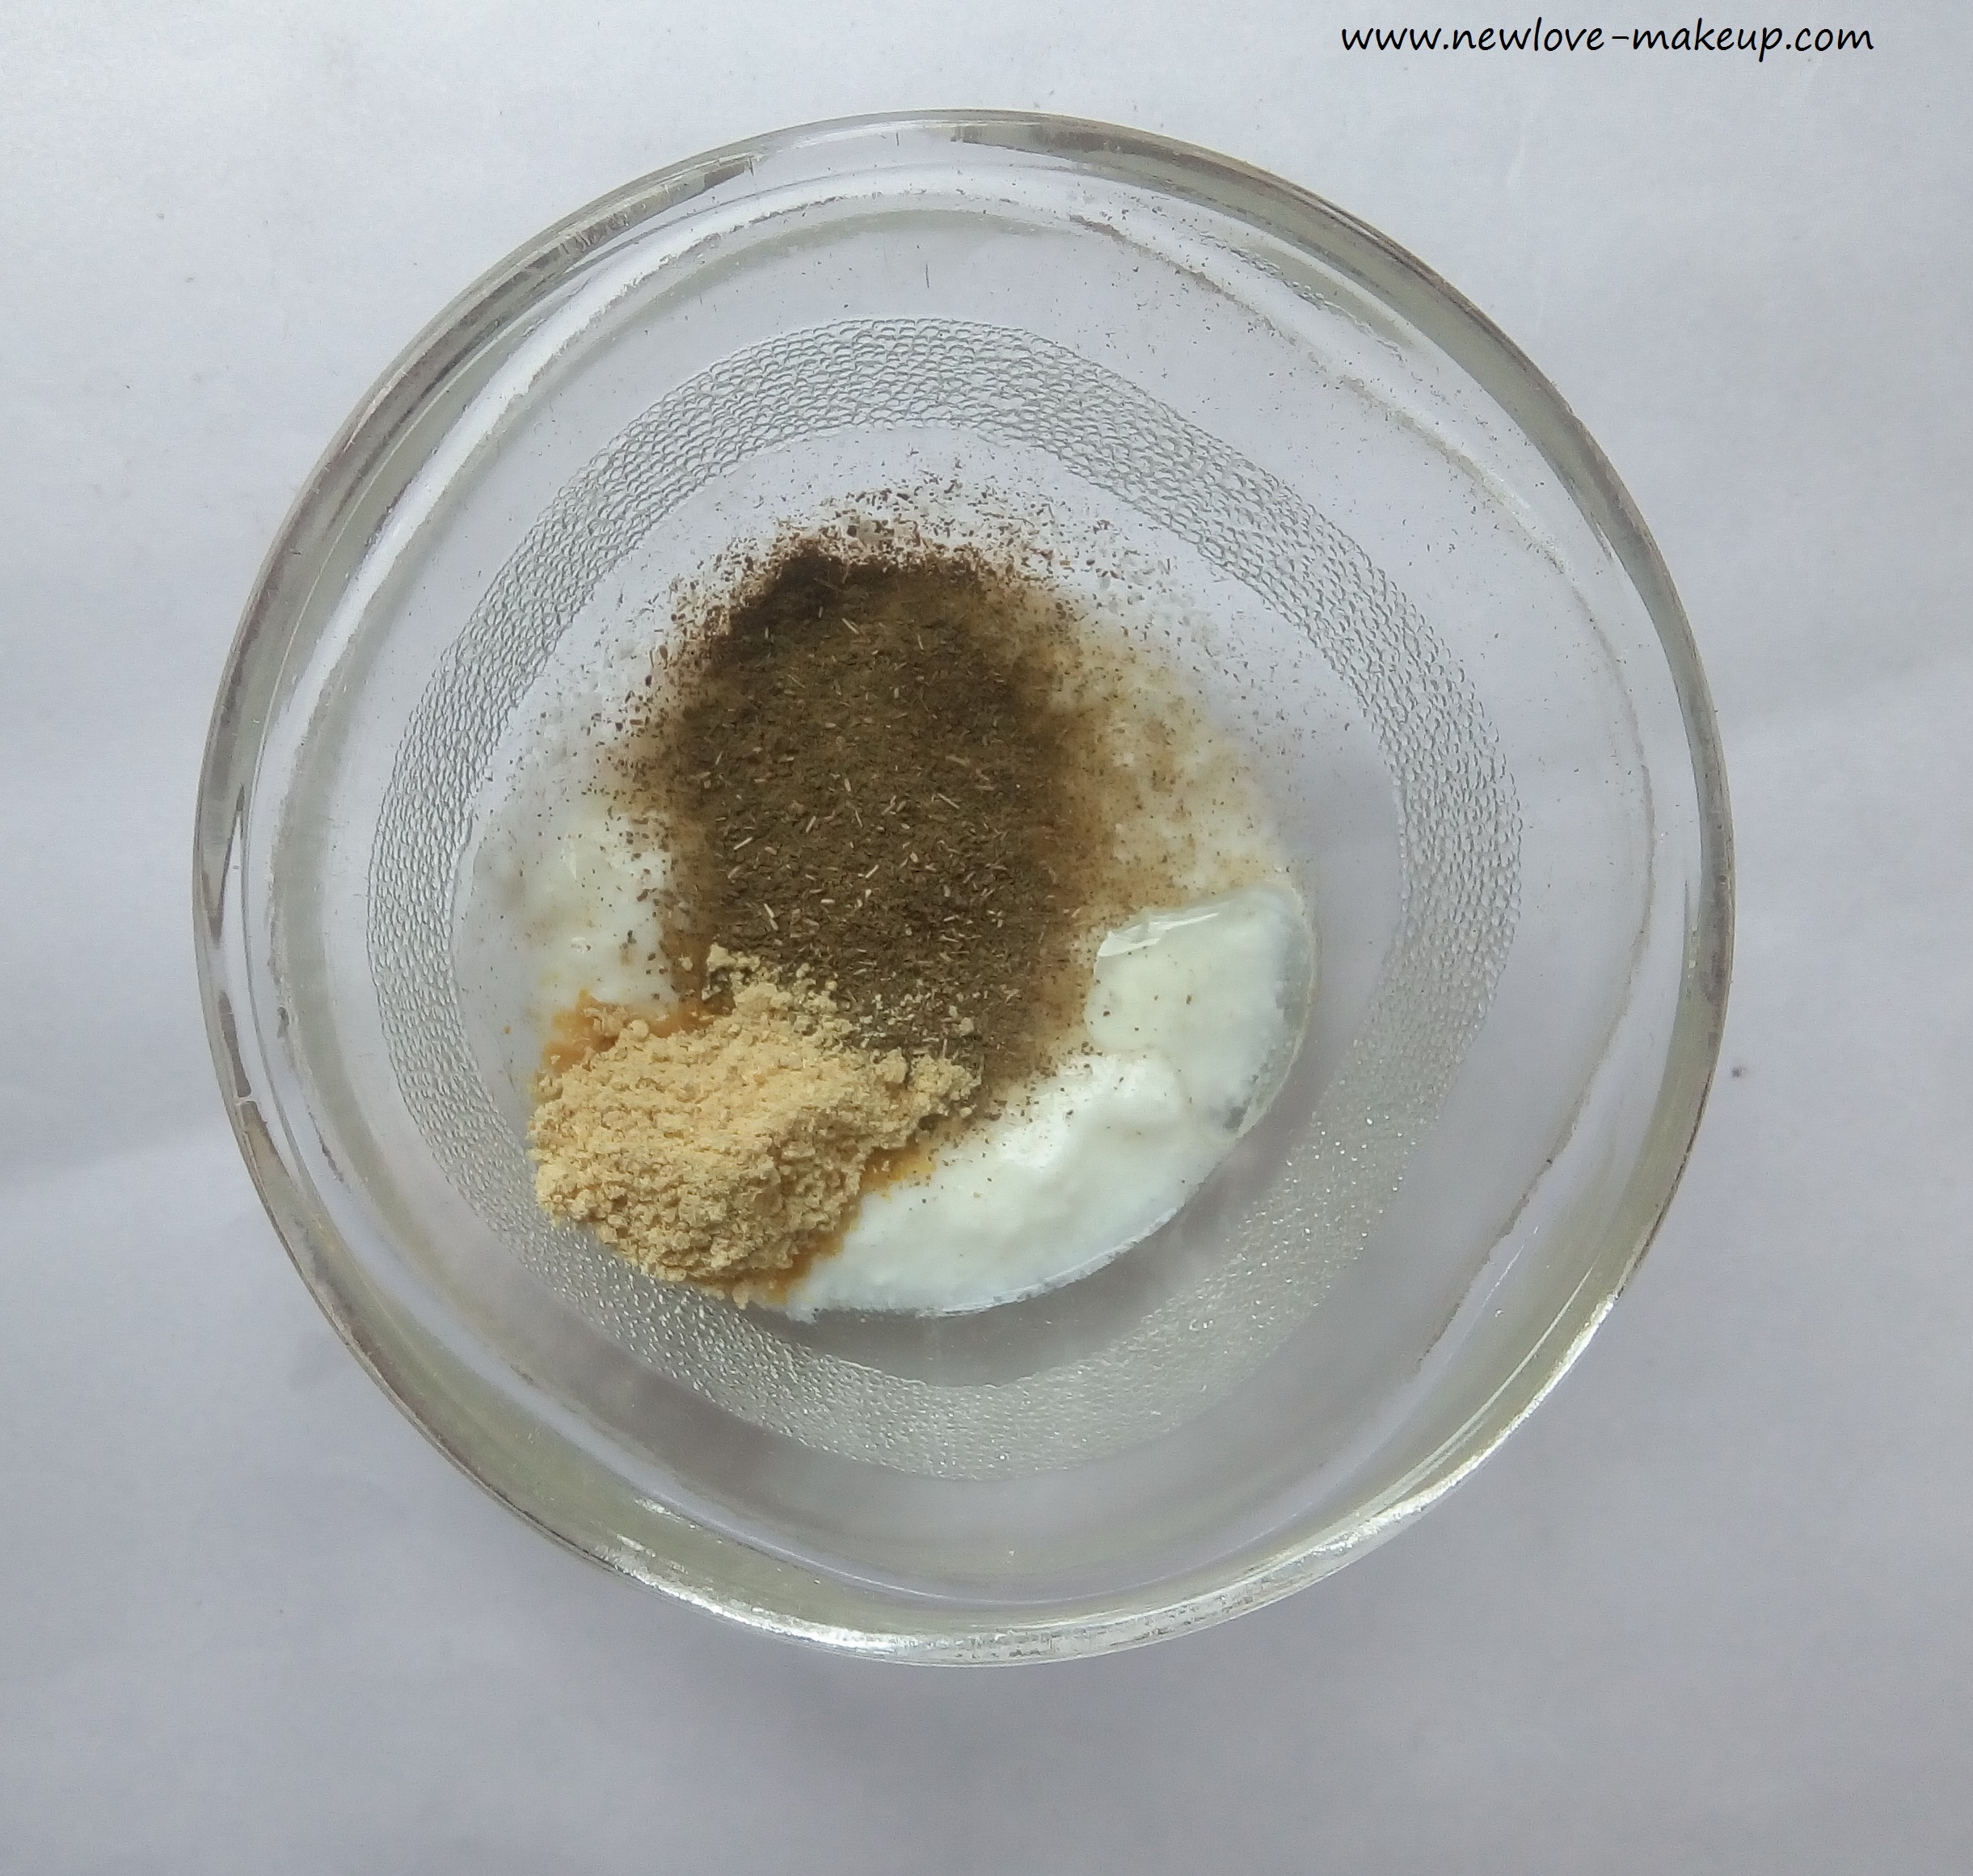
3. SAFFRON, MILK & SANDALWOOD POWDER MASK
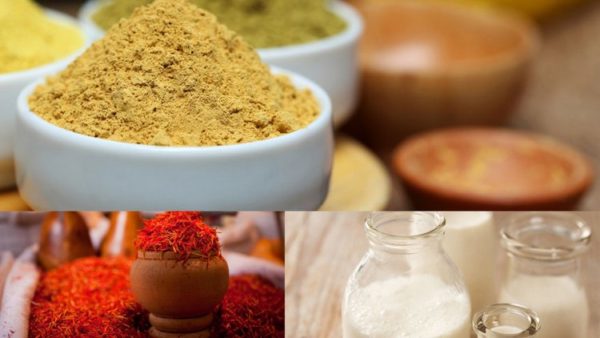
The inherent anti-inflammatory nature of saffron arising from the high presence of antioxidants enables saffron to be used as a potent tool against various skin conditions such as pimples, acne, and Rosacea. To top it all, if we have milk (raw one please) which boosts collagen production, slows down fine lines and wrinkles, protects skin from free radicals that cause premature aging, helps fade dark spots and marks, reduces acne and promotes skin elasticity, you know it’s going to be “Good times” for your largest organ aka your skin. Finally, sandalwood powder owing to its fragrant and soothing aroma will act as the binding agent in this recipe. It also absorbs excess oil off one’s face and neck. Time to cheer oil-skinned ladies, isn’t it?
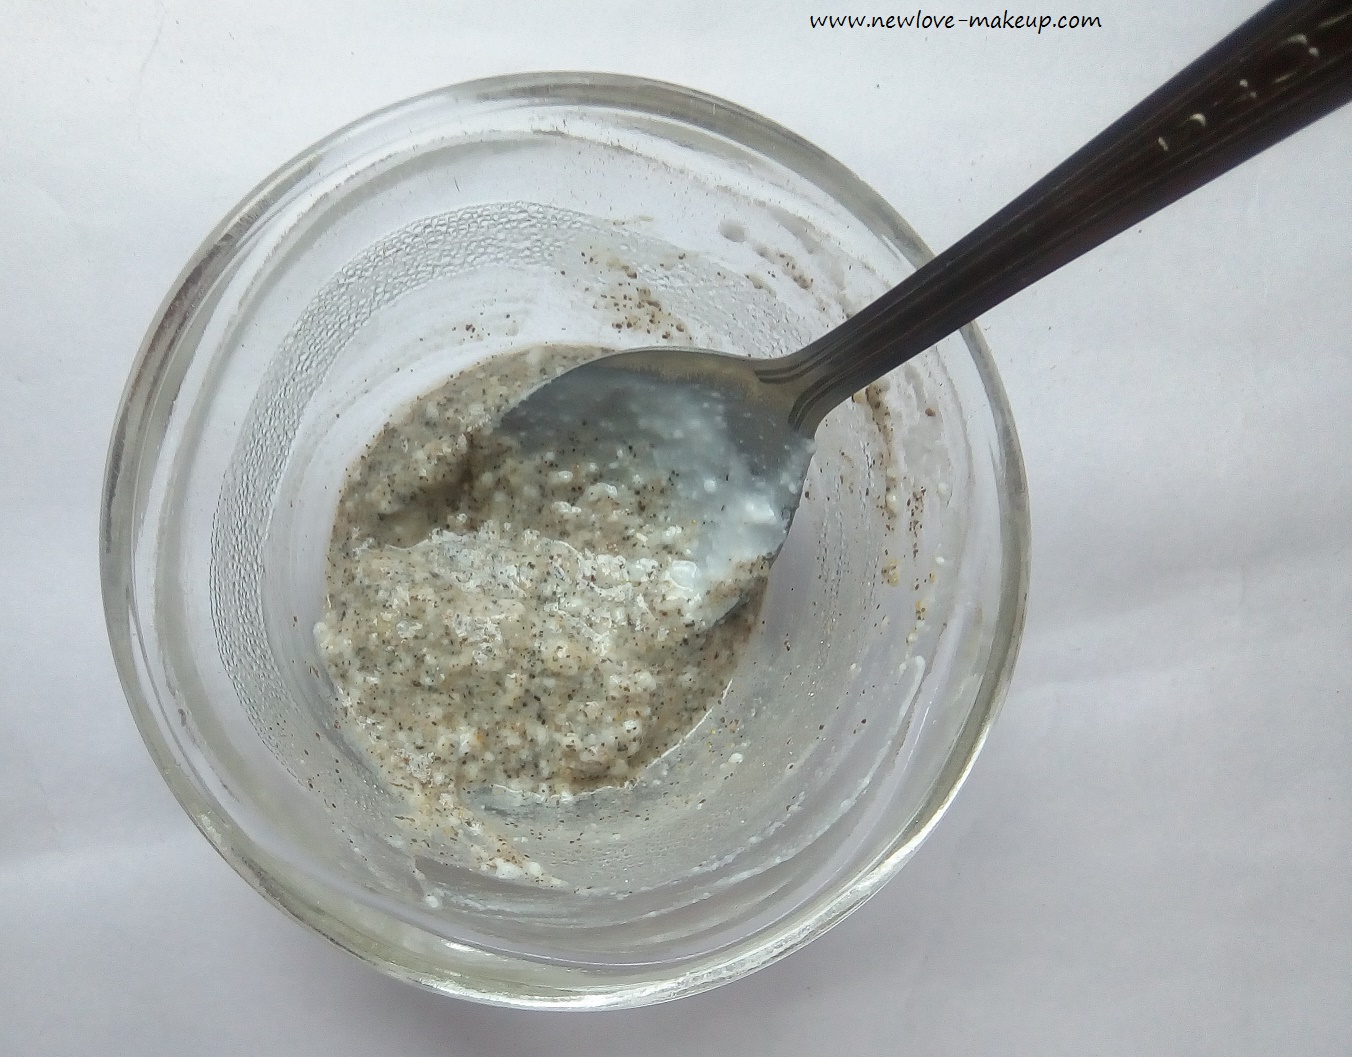
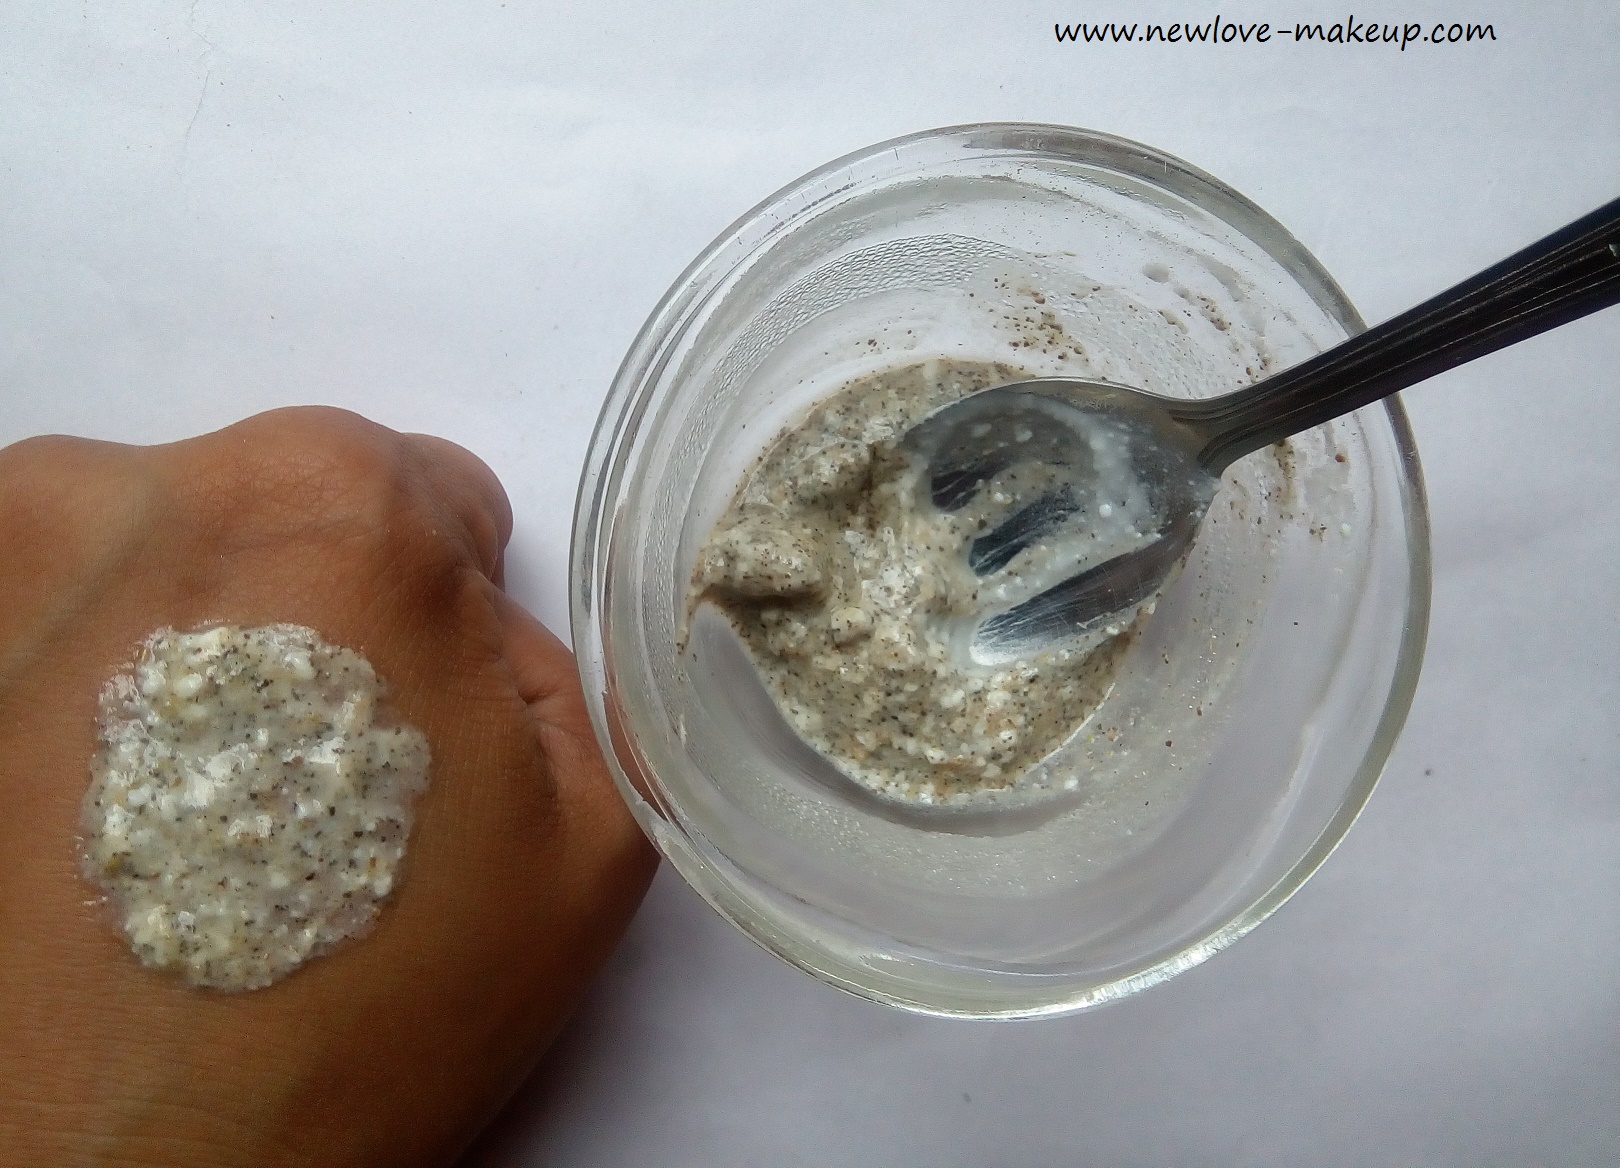
PROCEDURE-Soak 3-4 saffron strands in raw milk for about two hours. Add a heaped tbsp. of pure sandalwood powder (known as Chandan powder in Hindi) and mix well. Once a smooth and consistent paste id formed, generously daub a fine layer of it on your skin. It will take around 30 minutes to dry solely. Wash off with cold water and admire the newfound glow.
4. SAFFRON, ROSE WATER & COCONUT MILK MASK
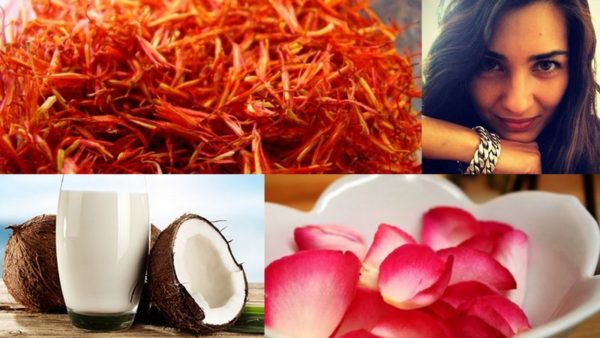
The moisture absorbing and enhancing nature of saffron makes it an ideal home remedy for dry, chapped and rough skin. On the other hand, we have rose water (known as Gulab Jal in Hindi) which helps to maintain skin’s pH balance, fight acne, dermatitis and eczema.
Rose water also hydrates, revitalizes and moisturizes skin. It helps to tone one’s skin. It also helps to revitalize aging skin and keeps fine lines at bay. So many virtues rolled into one! Didn’t that get you ecstatic? Add to this, coconut milk needs no elaboration when it comes to moisturisation.
PROCEDURE- In a tbsp. of pure rose water, add 3-4 saffron strands. Let them soak into it for 2 hours. Finally, add a tbsp. of coconut milk. The final/resulting concoction will be predominantly liquid. That goes without saying that application would be messy but do not fret. You’ll be blown away by the results if not immediately then, definitely over a couple of uses periodically.