Tag Archives: DIY

Home Remedies For Glowing Skin, Indian Skincare blog, Indian beauty blog

Home Remedies For Glowing Skin

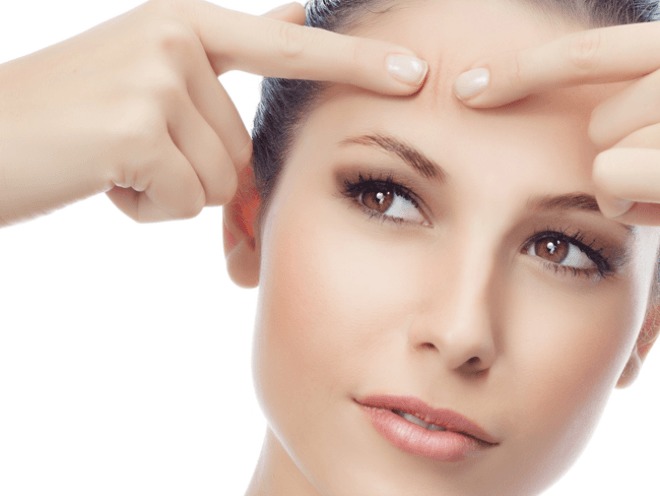
HOME REMEDIES FOR GLOWING SKIN

By Rashmi

Hello peeps,

I am back with another DIY solution for your skin. Glowing skin is what everybody desires. People spend so much money by going to parlours. Though the effect of parlour treatment is almost immediate,is it long lasting? I don’t think so. I prefer using ingredients from the kitchen which are readily available.These are absolutely natural ingredients and are safe. And these things give a glow to your face like no other parlour treatment can give. And guess what? The results are permanent. When at first my mother asked me to use homemade face masks instead of going to the parlour i laughed at that but now after using all these homemade masks I am sure I am not going to the parlour for facials.

And I am sure these home remedies for glowing skin are going to work for you guys as well.

Happy reading ☺

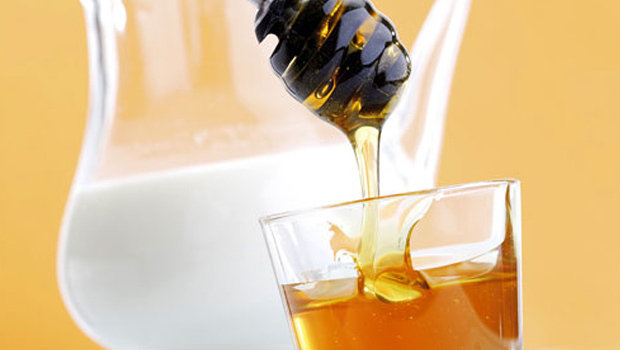
1. Honey and lemon juice –

In a bowl take 2tbsp honey and mix in it 1tbsp lemon. Mix it well. Apply it on your face and leave it for 20 minutes.Wash it off with cold water. Lemon works as a natural bleach and honey gives instant radiance. One could also try applying just honey on the face. Honey and Lemon is perfect for removing your tan too.
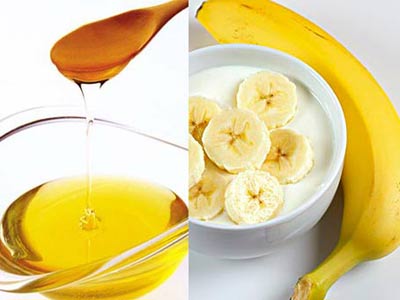
2. Banana face mask-

In a bowl take half a banana(ripe),mix 1tbsp yogurt to it along with 1tbsp honey. Mix it well until the banana is mashed completely. You could add 2-3 drops of rosewater too. Now apply this face mask and leave it for 20-25 minutes before washing it off with water.Banana is best for getting glowing skin.

3. Tomato juice –

Simply mix tomato juice along with lemon and apply it on your face. Let it sit for 20minutes and then wash it off with plain water.Follow up with a good oil free moisturiser.

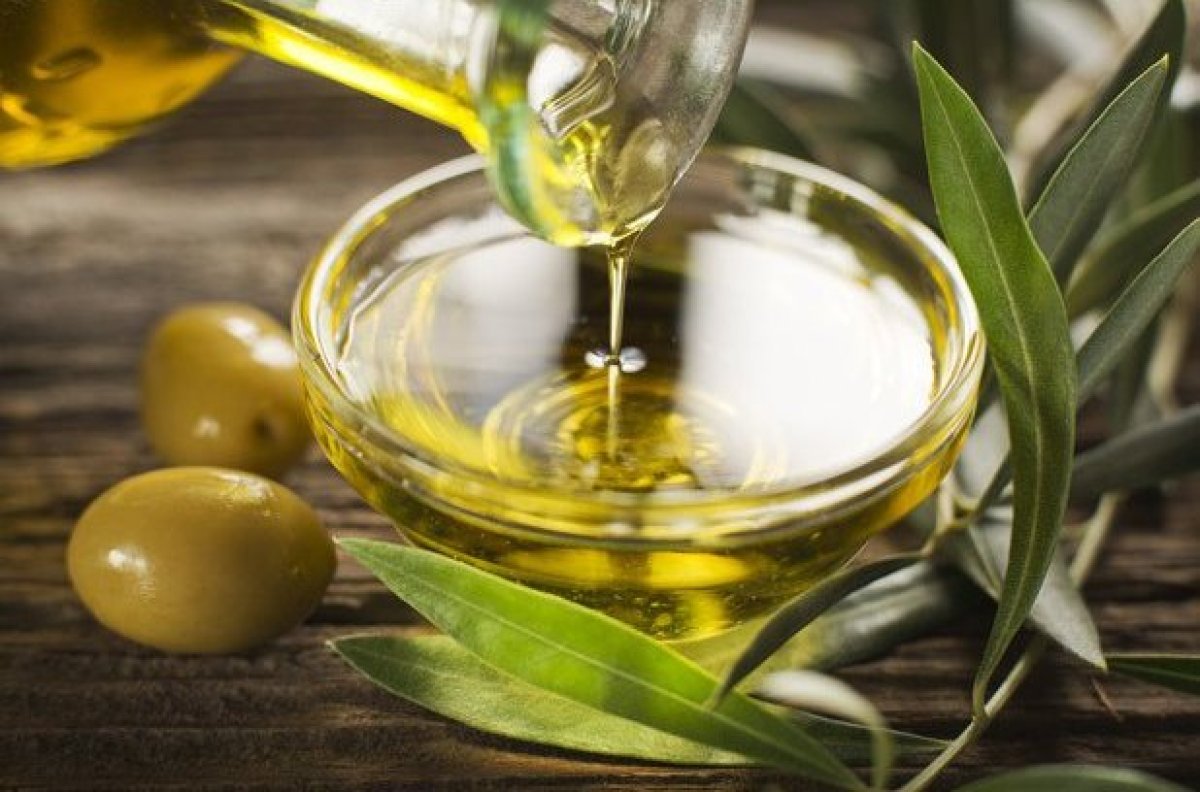
4. Olive oil or coconut oil-

People have this misconception that if they apply oil on their face, they will get pimples .This isn’t true. In fact either olive oil or coconut oil should be applied on the face for at least 10minutes before taking a shower. This is a really effective method to get that glow that you have always longed for.I follow this routine daily and this has worked effectively for me.

5. Potato and lemon juice-

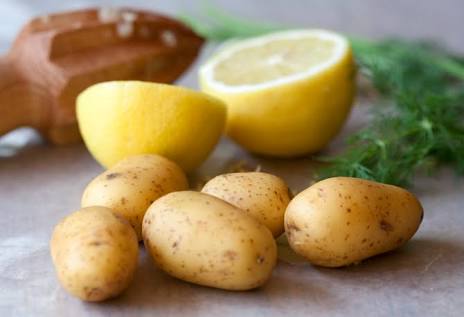
Take the juice of half potato and mix in it about 1tbsp lemon juice. Apply this on your face daily for a week and you will be able to notice a beautiful glow on your face. Rub this mixture on your elbows too to get rid of dark elbows. This mix when used continuously for a week, will help get rid of all that stubborn tan.
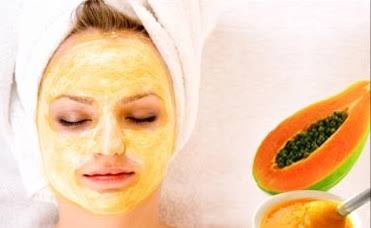
6. Papaya face mask-

In a bowl take papaya and mash it well. Mix in it about 1tbsp honey, 1/2 tsp turmeric (you don’t want to be left with a yellow face instead of a glowing one) and 1tsp honey. Mix all the ingredients well and apply this on your face for 20 minutes and then wash it off. Apply rosewater on your face after that.

7. Milk and lemon-

Mix milk and lemon together. The milk should be unboiled. Apply this and you would get a radiant skin within a week. Milk helps to moisturise your skin and lemon helps in bleaching the skin naturally thus causing no side effect.

Additional tips-

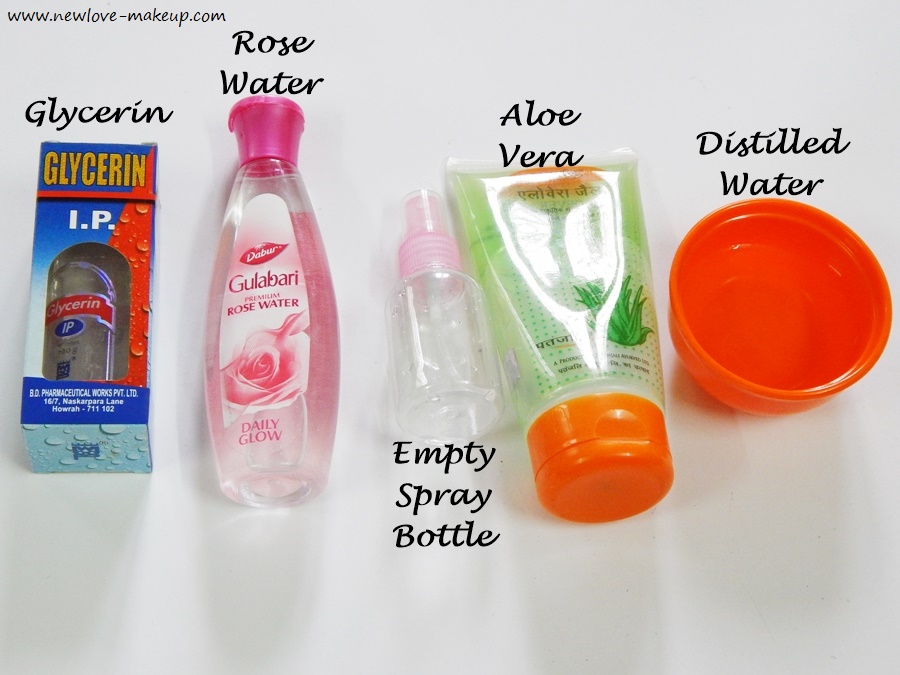
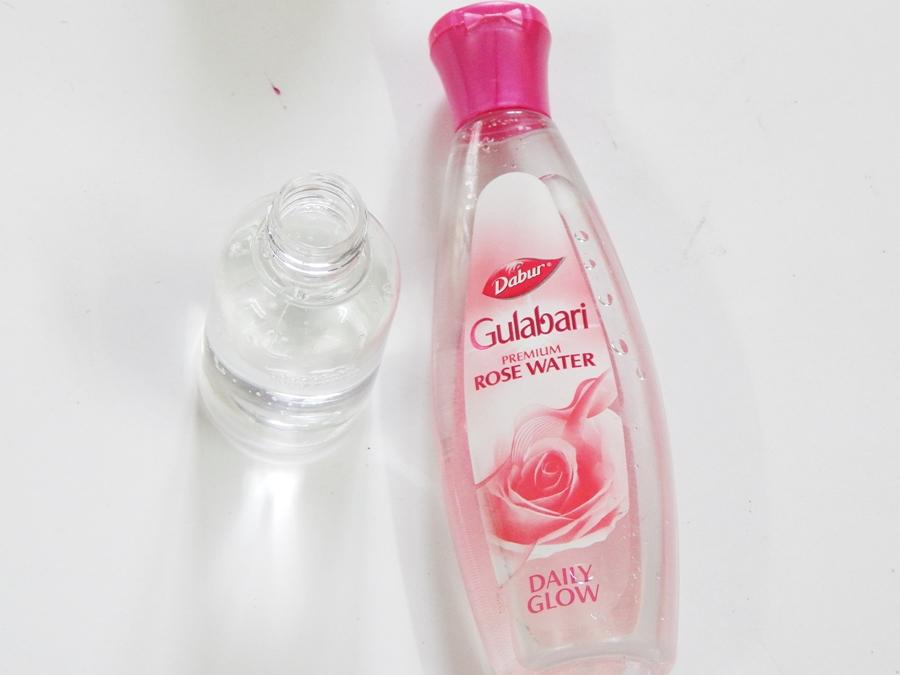
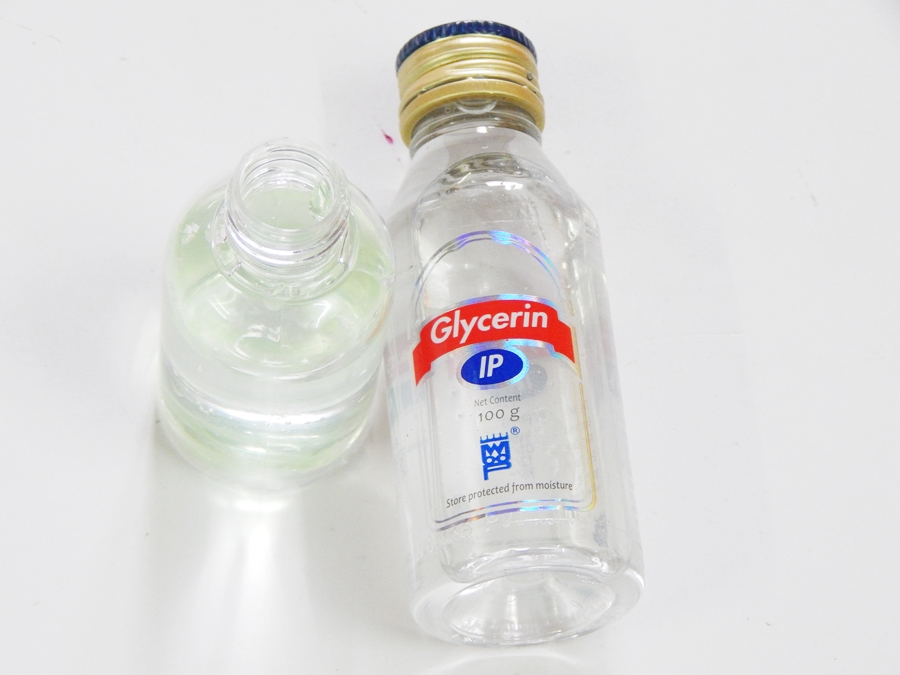
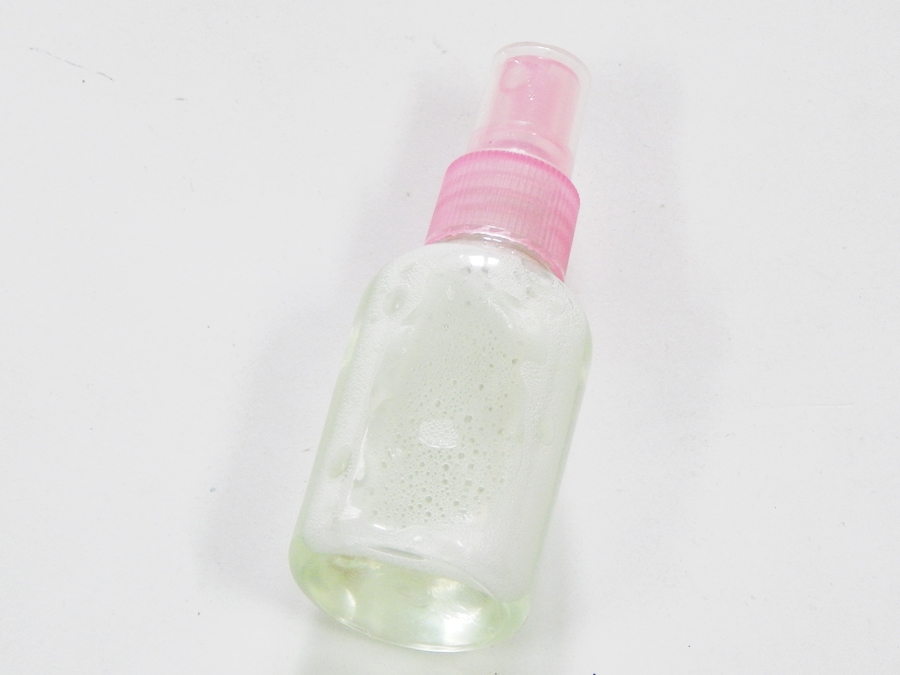
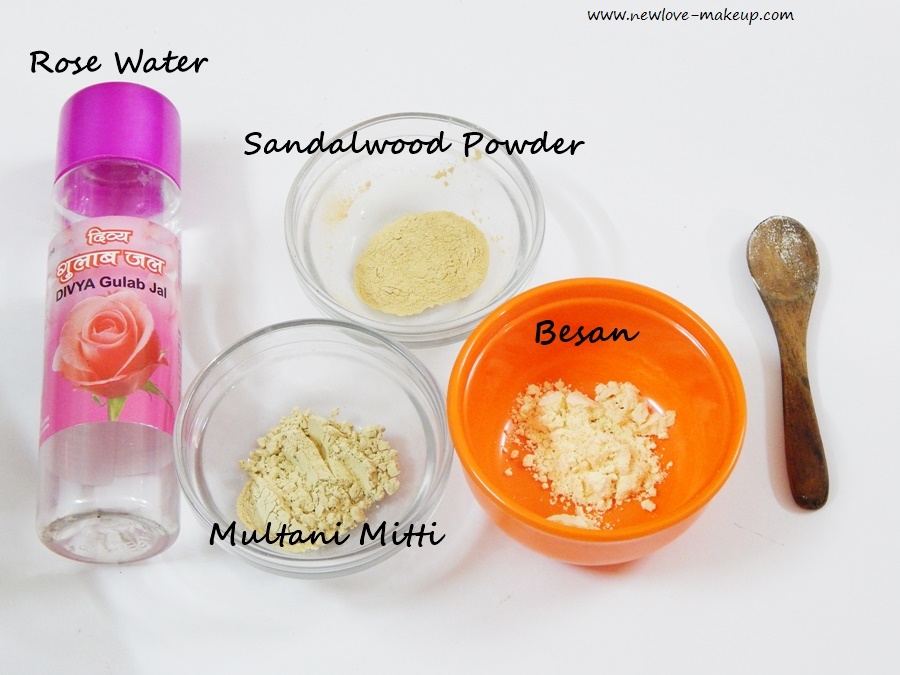
1. For people with dry skin mix glycerine and rosewater and apply it on your face daily.

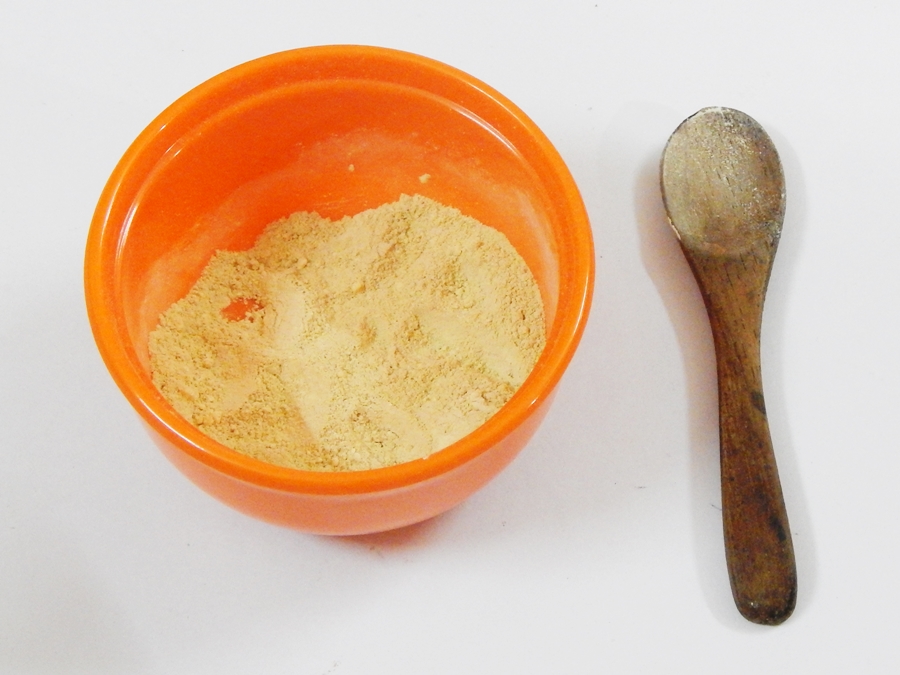
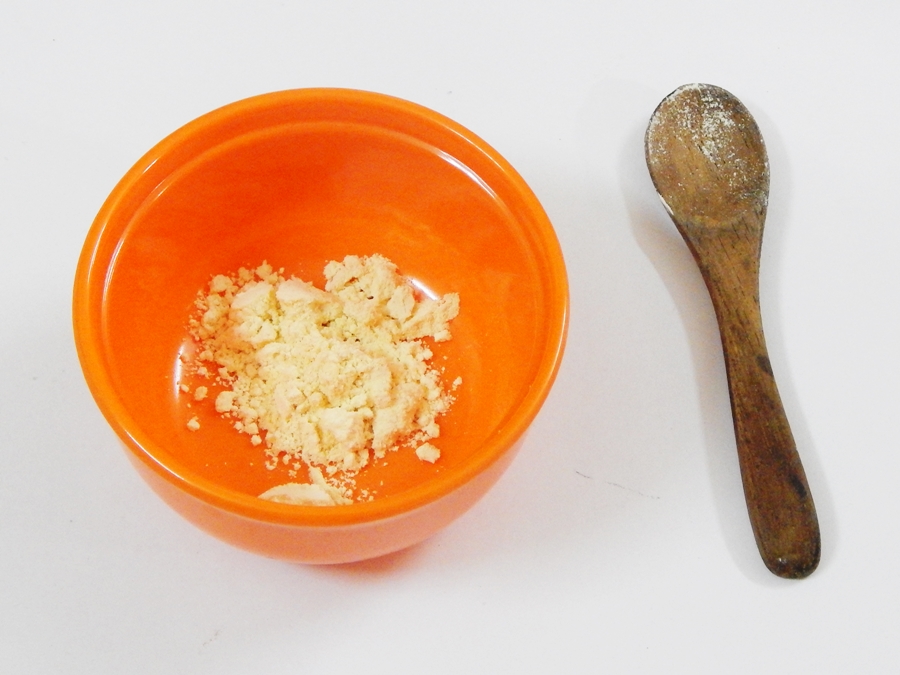
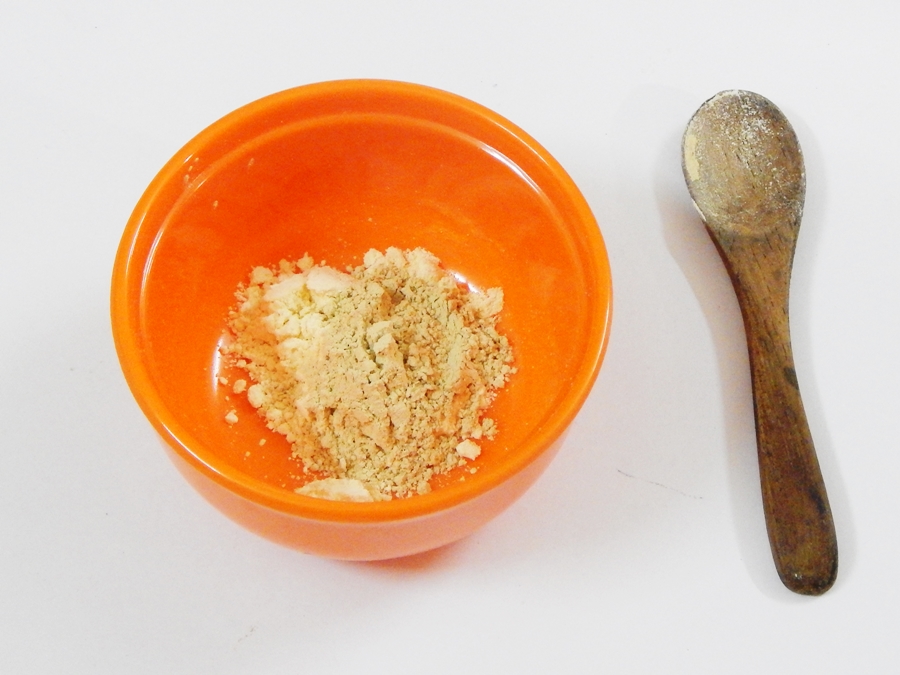
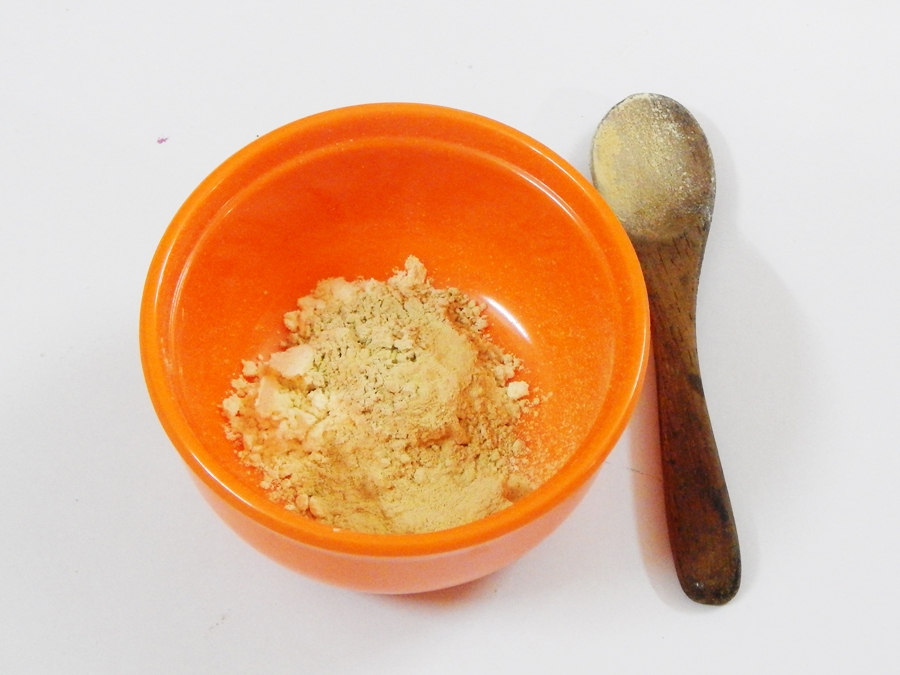
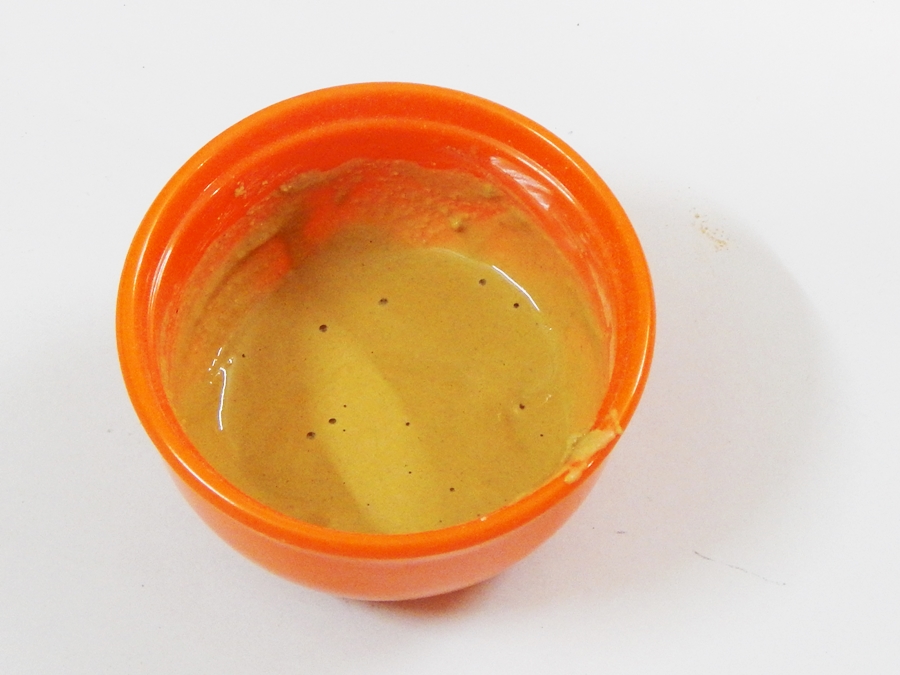
2. For people with oily skin mix gram flour(besan) with rosewater and apply daily. Alternatively fuller’s earth could also be used.

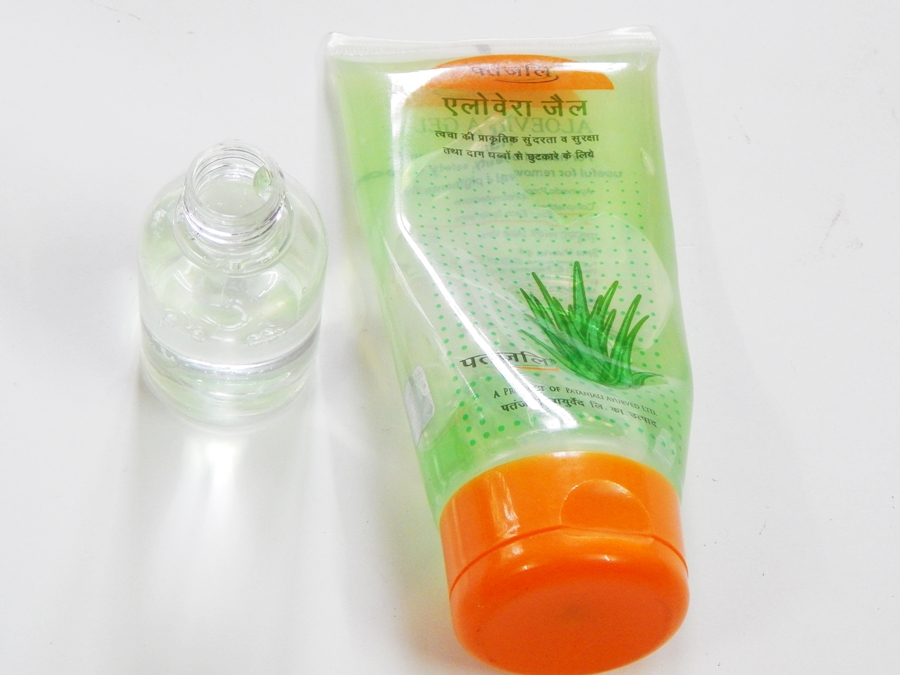
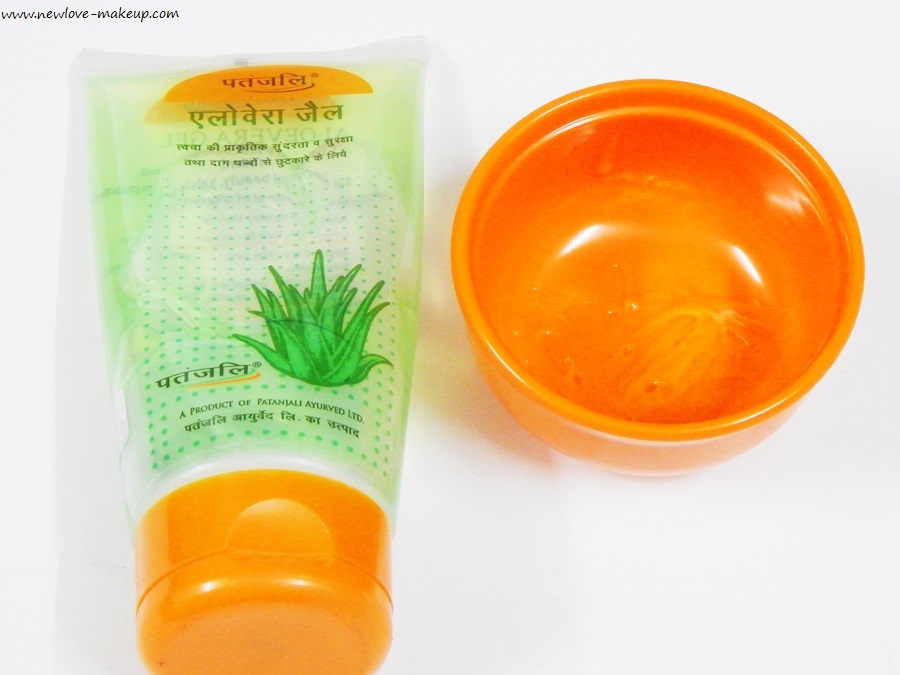
3. Apply aloe vera on your face daily .

4. Exfoliate your skin at least twice a week to get rid off the dead skin cells.

5. Always keep your skin hydrated and moisturised.

6. Always remove your makeup before going to sleep and apply your night cream.

7. Rub an ice cube on your face for an instant glow.

See more skincare tips/DIY HERE

Editor’s Note: These are easy and perfect everyday tips Rashmi. Glycerine and Rose water, I swear by. Even Fuller’s Earth, especially for summers.

Do you use these quick home remedies for that glowing skin? If not, do so now.

P.S: Images from Google.

How To Get Rid of Acne Naturally

How To Get Rid of Acne Naturally

By Rashmi

Hello girlies,

This is my first article in this space and i do hope that you all llike it . This being my first article I wanted to write about something that has troubled myself for years.Happy reading ☺

The most irritating thing about growing up is probably pimples.This had troubled me for years until i found a natural and permanent solution to cure it. Though natural remedies have a slower effect but they are permanent cures.I have been using these natural remedies for years and have a clear skin since then. So i thought of sharing these remedies with you all.

All you need to have is a bit of patience. I hope all these remedies works for you all as well. ☺

1. Fuller’s earth- In a bowl take about 4 tbsp of fuller’s earth. Mix 2tbsp of sandalwood powder and mix 1tbsp of turmeric powder into it. Add some rosewater and mix well. Apply this on the face and wash after half an hour. Continue using this face pack for 2 weeks to notice a difference.

2. Coriander leaves- Make a paste of coriander leaves and apply it on the effected area and leave it for 20-25minutes and then wash it off.Coriander leaves works effectively in curing acne.

3. Lemon- Mix lemon with honey and apply it on your face and leave it for half an hour and rinse off with cold water to get a clear skin.Lemon works great as a skin lightener too and is most effective in curing acne.

4. Garlic juice – Garlic juice is probably the most effective natural ingredient to cure acne, the only problem being that it stings really bad. Apply it for 15 mins and then rinse off with cold water and apply rosewater.

5. Black pepper – Mix crushed black pepper with rosewater. Apply on face and leave overnight. Wash it with lukewarm water in the morning.

6. Neem – Mix 2tbsp of neem powder, 1tbsp sandalwood powder and add a few drops of rosewater. Mix it well and apply it on your face. Let it dry and then wash it off.

7. Camphor – Camphor is known to cure acne.It reduces redness and itching. Mix 1–2 cubes of camphor (depending upon the size) and rose water and spray it on your face.This works as a great toner. This is the elixir for people with oily skin. Spray it on your face daily to get rid of acne.

Editor’s Note: I absolutely loved the tips Rashmi, never tried black pepper and camphor. Will surely give them a try

Have you tried these tips? What do you do to keep acne at bay?

P.S: Images from Google

DIY – Makeup Setting Spray

DIY – Makeup Setting Spray

By Sanchita

Makeup setting spray plays a very important role in the application and setting of base. In fact, this is the reason the makeup looks so flawless and does not budge for a long time even during scorching heat. You have often seen the matte or dewy look on various celebrities and how impeccable it looks! It also helps in removing the cakey or any patchy look in case you applied the powder or foundation in excess. Sadly, not many Indian brands manufacture makeup setting sprays and therefore the other brands are quite expensive. One day, I was having a casual chat regarding makeup setting with my friend who is a makeup artist and she told me how she sets the makeup on her clients. She uses a concoction liquid of certain ingredients which are readily available in the market and I was so determined to make it. In fact, you can also make two different setting spray – one for dewy and the other for matte. So, scroll down to see how to make your own makeup setting spray.

INGREDIENTS

  • Rose water – act as a toner, moisturizer and skin enhancer.
  • Aloe Vera Gel – helps in setting the look without getting patchy or cakey.
  • Glycerin – moisturizes the skin and evens out the makeup. Acts as a sticky base to keep the makeup adhered to
  • Distilled Water
  • Empty Spray Bottle

PROCEDURE

  • Take an empty spray bottle and make sure it is completely cleansed, sterilized and dried. Fill 1/3rd of the bottle with distilled water.

  • Add 2/3rd rose water to the bottle.

  • Add 1 tbsp. of Aloe Vera Gel.

  • Now, add 1/2 tbsp. of glycerin or any other essential oil of your choice.

  • Shake the bottle very well so that the ingredients are thoroughly mixed.

  • Voila! Your makeup setting spray is ready!

Note: If you want to make the spray for matte finish, use the distilled water and rose water in a 50:50 ratio and add only little bit of glycerin. However, if you want to make the spray for dewy finish, use the distilled water and rose water in a 20:80 ratio and add 1tbsp. of glycerin. Also, you can add Jojoba Oil or any other essential oil to increase the hydration factor during winter.

Caution: If you’re allergic to any of the above mentioned ingredients, please do not incorporate them in the concoction.

This can also be used a toner and refresher in this scorching heat. Simply spray the liquid from a slight distance, closing the eyes and let is dry on its own. Also, do not spray too much as it will take a long time to dry up. It is free from chemicals and preservatives and hence it is best to use it up within 1-2 months of making.

Editor’s Note: This sounds amazing Sanchita, definitely worth trying. I am surely going to.

Will you try this DIY Makeup Setting Spray?

Top 5 Natural DIY Hair Conditioning Treatments

Top 5 Natural DIY Hair Conditioning Treatments

By Somreeta

The dry and cold weather during the winter months tend to strip your hair of moisture. As a result, your tresses look dull, frizzy, and lifeless. Dry hair is more prone to breakage and develops split ends. Hence, it is important to nourish and condition your hair. The right kind of conditioning treatments during the winters would help to lock in moisture content in the hair shafts, thereby making your hair soft and manageable. Check out the top 5 natural hair conditioning treatments that are not only simple but also effective.

1. BANANA NOURISHING HAIR TREATMENT: Put a ripe banana, 3 tablespoons of olive oil and 3 tablespoons of honey in a blender. Blend well and apply this rich concoction on your hair shafts. Olive oil is one of the best known natural moisturizers while honey is a natural humectant. Banana helps minimize contraction while nourishing your hair thoroughly. After 30 minutes, wash it off. Be patient while washing, as banana tends to stick to your hair. Do it once a week for best results.

2. WHOLESOME EGG TREATMENT: Whisk an egg, 4 tablespoons of mayonnaise and a cup of plain yogurt in a bowl and apply the mixture liberally on your hair strands. The natural proteins and vitamins present in egg works wonders in strengthening the hair follicles and bringing about significant reduction in dryness. Yogurt makes hair soft while mayonnaise moisturises your hair. Wait for 45 minutes post application and rinse thoroughly with trepid water and shampoo. This homemade hair treatment can be done twice every week.

3. AVOCADO PROTEIN HAIR TREATMENT: Avocado is a rich storehouse of natural proteins and oils. Mash an avocado and add 5 to 6 drops of peppermint oil. Shampoo your hair, squeeze the water out and apply this mask. Wait for about 20 minutes and rinse well. Hair feels soft, smooth and hydrated.

4. CLASSIC MILK AND HONEY TREATMENT: It is pretty easy to prepare this classic hair mask. Mix two tablespoons of honey to a cup of whole milk and apply this natural hair potion along the length of your hair. Leave it on for about 15 minutes and rinse well. This mask strengthens your hair, moisturises it and rejuvenates dry hair. Do this treatment twice every week to see amazing results.

5. HOT OIL TREATMENT: The homemade hot oil treatment has stood the test of time. Warm up any natural oil of your choice and massage your hair and scalp well. You could use olive oil, almond oil, coconut oil or jojoba oil. You may even love to blend two oils in equal amounts and then, add a few drops of your favourite essential oil for extra benefits. Follow up with turban therapy and then shampoo. Hair feels soft, moisturized and well-nourished.

Isn’t t easy to attain gorgeous locks just by following a few homemade hair care treatments? Opt for these DIY conditioners and get beautiful and nourished hair, naturally!

Editor’s Note: I so agree with Hot Oil one. I am going to try a few of these for sure, especially milk and honey 🙂 Nice post Somreeta

P.S: Images from Google

Do you follow these at home DIY’s for Deep Conditioning your hair?

DIY Anti-Tan Face Pack For Oily Skin

DIY Anti-Tan Face Pack For Oily Skin

By Sanchita

Hello everyone. I am back with a DIY this time which, I am sure, would be very useful to all the oily skin types in the upcoming scorch summer. The thing is, when we go out in the sun, our skin produces extra melanin to protect the internal layers of the skin and thus we end up with deeper complexions i.e. tan. The tan is unescapable and no matter what product we apply or the protection we take – we always end up with a discolored complexion after a day’s turmoil. With sun tan comes the pigmentation and early signs of ageing like fine lines and wrinkles that contributes to the dullness of our whole outlook. Due to my acne prone oily skin, I always stay away from chemical laden face pack and instead make my own with the help of certain ingredients easily available anywhere. This face pack has helped to restore my skin’s complexion and texture for all these years and I cannot simply live without it. So, here’s the ingredients and steps listed below to make the Anti-Tan face pack for oily skin.

INGREDIENTS

Besan (Bengal Gram)
Fuller’s Earth (Multani Mitti) (BUY HERE)
Sandalwood Powder (even sandalwood paste would work) (BUY HERE)
Rose Water
Clean bowl and spoon.

STEPS

1. In a clean bowl, add 1tbsp. of Besan.

2. Add, 1tbsp. of Multani Mitti to the mixture.

3. Next, add ½ tbsp. of sandalwood powder (or 1tbsp. of sandalwood paste).

4. With the help of a spoon, add all these dry ingredients thoroughly.

5. Pour the rose water, 1tbsp. at a time to get the medium consistency of a face pack.

6. Leave the face pack for about 30-40mins and rinse with cold water. Pat the skin dry.

BENEFITS

Besan (Bengal Gram) – A common household ingredient that contributes to the healthy texture of the skin. It has the ability to naturally cleanse the skin and remove every layer of impurities from the pores and also tightening them to a large extent. It is also a very gentle exfoliator for oily skin which can’t resist harsh scrubs. Most importantly, it helps is removing the tan, brightening the skin and also helps in eliminating acne and sudden breakouts.

Fuller’s Earth (Multani Mitti) – This is the Holy Grail for every girl with oily skin. Apply any face pack with multani mitti will not only make your skin oil free but also prevents the acne as well. It diminishes every layer of discolorations, pigmentation, scars and blemishes on the face with regular usage. It is further known to improve the elasticity of the skin, thereby reducing the signs like fine lines, wrinkles, etc.

Sandalwood Powder – This is one gorgeous ingredient that contributes to skin lightening by removing every ounce of impurities from the skin. I am not saying it will make you ‘fairer’ (because that never happens) but it will make you fall in love with your complexion. It enhances the skin’s texture to a large extent. The ant-tan properties soothes sun burns and removes it and also the antibacterial properties works on acne prone skin like a miracle. It tightens the drooping skin tissues with the intention of providing a youthful appearance to the skin.

Rose Water – when nothing works on your skin, rose water is the best astringent to go for. The product revitalizes aging skin and keeps fine lines and wrinkles at bay. Maintaining the skin’s pH balance, it hydrates, refreshes and moisturizes the skin, thereby making it smooth. The antioxidant properties of rose water help to strengthen skin cells and restore skin tissues.
So, definitely try this out and let me know how this worked for your stubborn acne prone oily skin.

Editor’s Note: I absolutely swear by multani mitti and sandalwood powder, loved this DIY Sanchita.

Have you tried this at home DIY to remove your tan yet?

DIY Facial Serum for Night

DIY Facial Serum for Night

By Sanchita

To begin with, I have extremely sensitive, acne prone, oily skin that is always on the verge of breakouts. Due to this reason, I avoid moisturizers (except for aloe vera gel) all my life. However, as I am approaching towards late 20s, I have been noticing that the texture of the skin looks very unhealthy and that natural glow is missing somewhere. Hence, I wanted something to rejuvenate and nourish the skin. After searching high and low for all the ingredients that works on acne prone skin without giving much trouble, I made this night serum for myself and to my surprise, I did work! I have been using it past a month and thankfully I observed some good changes in my skin. Firstly, it never broke me out and also nourished the skin. Secondly, it hydrates the skin throughout the night with getting oily or greasy. So, here goes the night elixir for acne prone skin.

INGREDIENTS:

  • Aloe Vera Gel – you can either take it directly from the plants and blend it smooth to have the gel consistency or simple buy one!
  • Jojoba Oil – Works wonder for oily acne prone skin. You can also substitute it for Avocado OR Almond Oil for preference.
  • Rose Water – either homemade or store-bought will work.
  • Vitamin E Capsule – easily available across the counter otherwise you can also opt for Vitamin E oil.
  • Sanitized Bowl – since it is a face product, it is better to have a sanitized place to start with and then transfer it to a dropper bottle or any container.

STEPS

Step 1
  • Add 1 tbsp. of rose water in the bowl.
Step 2
  • Next, add 2 tbsp. of aloe vera gel. Mix it thoroughly as both the ingredients have different consistencies and takes effort to blend well. You can also add 1 tbsp. if you want a runny consistency but I wanted sort of a slightly thicker one, so I added 2 tbsp.
Step 3
  • Add 2-3 drops of Jojoba Oil and again blend it in.
Step 4
  • Lastly, take out 1-2 Vitamin E Capsules and poke them to take out the oil. Add the mixture very comprehensively unless you see a uniform consistency without any lumps.
Final outcome
  • And Voila! You night serum is ready!

TIP: Do not make it in a large quantity because it is handmade and hence, the preservatives are missing. Make it enough for a week or two at the most.

FOR DRY SKIN – Since dry skin or mature skin needs more than just aloe vera gel, they can use shea butter or cocoa butter instead of aloe vera gel. They can also incorporate the essential oils like Almond, Rosehip, Grapeseed, etc. as per their own preference.

BENEFITS OF THE INGREDIENTS –

  • Vitamin E – Vitamin E is the main ingredient I would vouch for. It has excellent properties to revive and renew the skin cells at night. It treats the scars and marks on the skin due to ageing or acne. Being a great moisturizer, it nourishes the skin well without making it greasy or clog the pores when applied. It soothes and treats the sun burns and regular tanning of the skin. Most prominently, it make collagen that decreases the rate of aging signs like wrinkles, fine lines, etc.
  • Aloe Vera Gel – this is the HG for every oily skin. Seldom moisturizers suit us and we always find our way back to this. Aloe Vera, known as “plant of immortality”, it has numerous benefits for skin. It moisturizes the skin, heals the scars and soothes the skin from acne and nourishes without any greasy layer which gets absorbed in a jiffy. It also lightens skin pigmentation and slows down the ageing sign.
  • Jojoba Oil – it is known to fight wrinkles, stretch marks and cellulite. With high amount of ceramides which cover skin cells, it hydrates and nourishes the skin like no other. Oily skin doesn’t go well with other oils but this is an exception. It is so light weight and gets blended very easily. It also has anti-bacterial properties that treats acne and allergies.
  • Rose Water – the beauty of rose water in indefinite. From toner to face packs, makeup setting spray to hydration – it can do everything. It treats acne, soothes the skin from sun burns, refreshes and invigorates and has many anti-inflammatory and anti-oxidant properties for sensitive skin.

Do let me know how you liked the DIY.

Editor’s Note: I swear by Vitamin E capsules, but they are so sticky and messy while applying. I guess the mix of rose water and aloe vera gel will make applying Vitamin E easier. Also I am all for essential oils, I love using them. Definitely trying this Sanchita.

Beauty Hack: DIY SCRUB BAR

Beauty Hack: DIY SCRUB BAR

By Sanchita

Scrubbing is extremely essential in winters as the development of dry skin needs to exfoliate to preserve then natural radiance of the skin itself. Honestly speaking, I prefer my winters with oversized sweatshirt, hot chocolate, a warm bed to snuggle in and reading a soul touching book. Yes, I am one of those lazy girls who like to keep the skin well-scrubbed of dead cells and yet do nothing about it. This is when a dear friend of mine told me to make a ‘scrub bar’ that would clean and exfoliate at the same time. My heart leaped with just with the thought of such multipurpose body care product and I immediately thought of making it. So it’s time, my dear readers of NLM, to let you know how to DIY this amazing thing!

Things you need:

  • Crushed soap bar. (a gel based one works better and easier to deal with)
  • Olive oil.
  • Glycerin.
  • Ground coffee. (not the instant one which blends in but the grounded beans for filter)
  • Empty container.

Steps:

Step 1

1. In a double boiler or on top of a boiling water, place the cut out pieces of the soap. Do not put it directly under the flames which would lead to burning.

Step 2

2. Once the soap melts in heat, simmer it down and add 2 tbsp. of olive oil and glycerin each. Then, mix it well with the liquid soap.

Step 3

3. Now add the coffee in it and again use a spoon to mix it well.

Step 4

4. Remove the mixture from the heat and pour in it the container. Now, this has to be done very quickly as the soap has the tendency to get sticky.

Step 5

5. Keep it in the refrigerator for 1-2hours. It also depends upon the soap on how much time it requires to solidify. Mine was done in 1hour.

Final

6. And you homemade scrub bar is ready to use!

P.S: You can also add big granules of sugar to exfoliate. Sugar is slightly coarser when solidified and hence I generally feel it is too rough for my normal skin but if you have dry skin, you can incorporate that. Also, you can make a separate scrub bar with sugar and walnut particles for feet as well.

As we all know, soaps are excellent in washing the dirt and therefore I added it to cleanse the skin. Olive oil and glycerin is extremely hydrating and hence, while scrubbing you will get the desired moisture to be restored. Lastly, the coffee particles are coarse and semi-fine milled which helps in exfoliation- gently and effectively. It stimulates the blood flow while scrubbing and tighten the skin thereby reduces cellulite and great for anti-ageing.

Overall, this has been a lifesaver for me. I imply invest less time for skin care yet get the best of it. Do let me how you liked my DIY.

Editor’s Note: This sounds amazing Sanchita and I love the coffee smell, definitely trying it out.

Have you tried making something like before? A DIY Scrub Bar? Will you try this? It’s easy peasy.

Acetone v/s Non-Acetone Nail Polish Removers

Acetone v/s Non-Acetone Nail Polish Removers

By Ishleen

Why are acetone nail polish removers so much better for you!

Acetone or Non-acetone—that is the question?

We have been asked times innumerable about the safest way to remove nail polishes, are acetone based removers safe and whether or not non-acetone removers are better for the nails? So here we have a short post which hopefully will appease your queries.

The pondering over the question in regards to the safety of acetone removers is as intense as the heated debate on the health benefits of chocolate. But you do not need to drown in the frenzy of arguments, as we have planned to bring forward some logical set of reasonings.

What exactly is acetone?

Acetone is the second safest solvent in the nail industry, after water. And clearly, we cannot use water to remove nail polishes, because if we could, the nail industries would have never established. Ok, enough on that. Undoubtedly there are many other solvents in the world, but none are as safe as compared to acetone.

Does acetone have any health hazards?

Health hazards? No, not any that we have heard of. Some people tend to believe that acetone has the potency to aggravate carcinogens and thereby cause cancer. This is NOT THE TRUTH. No scientific institution or research has ever proved this.

Secondly, the market hype about non-acetone nail polish removers has made people believe that acetone can get absorbed by your skin and in the process can get mixed with your blood stream. Girls, acetone CAN NOT pass through the dermis level of your nail bed. Acetone gets evaporated a bit too fast to get absorbed into your nail plate. So, it’s safe.

Why should you choose acetone removers over non-acetone polish removers?

Markets today have very strategically created the image of non-acetone removers to be the better version of acetone removers. In reality this is not true. Acetone based nail polish removers are slightly safer than non acetone removers, which basically constitute methyl ethyl ketone and ethyl acetate. Both of which are harmful for the healthy growth of nails. Surprised much?

Coming to the argument that acetone removers are drying, we could not contest it. But so are non- acetone removers, undoubtedly. In fact non-acetone removers are much more drying than acetone removers as they are not as effective as acetone removers when it comes to removing nail polishes.

Non-acetone removers were made to work basically with acrylic nails, as they used to get dissolved when tampered with acetone removers. Thus they are less effective than acetone removers, there by leaving us with no other choice than to let it be in contact with the nail and nearby skin for longer periods of time. This causes much more dryness than any ordinary acetone remover.

What to do in order to avoid dryness caused by acetone based removers?

The basic question is why do your nails feel dry after setting in contact with acetone removers? Remember when I told you that acetone was a good solvent and it dissolves all the polish very effectively. Similarly, acetone being a solvent also dissolves the natural oil and moisture from the skin surrounding your nail bed. Simple enough, eh?

Talking about the solution, it is a complete no brainer. Feed the skin with what the acetone could rip it off of. Oil! I mean if the acetone tends to strip off natural oils from your skin, slather some olive or almond oil on to the skin (not the nails, just the surrounding skin) which will be getting affected by oil.

By doing this one simple step, the acetone will be dissolving the oils applied externally, safeguarding most of your natural oils and moisture in the skin. Easy peasy!

Ok, so I am in a good mood today. Let me just throw in a bonus trick for you gorgeous girls to enjoy.

BONUS TRICK: Gel nails are beautiful and they are all the rage in the nail industry nowadays. But let us accept it, they can be expensive; and the additional expense to get them removed at the salon can be too overwhelming for some. Now, that we know that acetone is far better than non-acetone removers, let us try a simple trick here. Dab some oil on to the skin surrounding your nails. Taking a cotton swab completely doused in acetone nail polish remover place it onto the nail and cover the nail with a foil paper (the one sitting handy in your kitchen) and let it be for about 3-5 minutes. Do not unwrap the foil; just pull it straight off the tip along with the cotton.

The same trick can be used to remove chunky glitter polishes, but the acetone dipped cotton covered with foil should not be left on the fingernails for more than 3-5 minutes. It can damage your natural nail bed.

After all the heated debates and settled arguments, I have finally come to the conclusion that acetone removers are all the much better than non-acetone nail polish removers for your skin.

The only problem that acetone can cause is drying and to avoid the unquenchable-nail feeling, you can try the following acetone based DIY recipe for gorgeously nourished nails. Just take:

1. Ten parts acetone (any kind of pure acetone will do)

2. Two parts of water (normal or tap water)

3. 10-15 drops of any oil of your choice (I personally prefer using olive oil)

4. 5-8 drops of vitamin E (you can even use one or two vitamin E capsules for this purpose)

Just add these four simple ingredients into any old nail polish remover bottle and voila! You have a customized acetone based nail lacquer remover which will remove the most stubborn of nail polishes without ever drying your nails. I swear your friends will be jealous of your beautiful nails 🙂

Editor’s Note: That’s quite an interesting post Ishleen, also loved the last DIY recipe and would be trying that out. I have tried acetone free ones thinking they are all good, but the nail paint just won’t come off :/ I usually love using this oil based nail polish remover pads. This DIY thing sounds quite good and economical.

Have you tried non-acetone nail polish removers? Don’t you find them drying plus they do not take off the nail paint at all! Will you try this DIY recipe?

P.S: Images from Google

Not just Welcome, Impress your Guests

Not just Welcome, Impress your Guests

Hi guys,

With festivals around and guests coming in to visit, we all love to make up our home. Here are 5 tips that will not only freshen up your living space, but will also leave a lasting impression on the guests.

1.    Welcome guests in style.

The first part every guest sees is the entrance. Add potted plants at the entrance. This will make your home refreshing and inviting. Plus plants always spread a positive aura around.

2.    Get some space.

Want some more room for your room? Just add mirrors to different walls. A strategically placed mirror reflects light and can make a small area seem much larger! Works like magic, try that.

 3.    A small change to leave a big impact.

Sometimes, a little change in your interiors can leave your guests speechless. Don’t move everything around. Try swapping a chair, sofa or just brighten the lights. One quirky piece of furniture can also do the trick.

4.    Add to the charm.

Say goodbye to boring. Dress up your drawer handles with colorful ribbons, paint legs of an old chair or cover old boxes with wrapping paper. You can even reuse the plastic bottles as flower vases by spray painting them. There are so many ways to DIY your old stuff, check Pinterest for some home decor DIY and get inspired.

5.    Let the kitchen do the talking

A clean & hygienic kitchen will make you picture perfect in front of your guests. That’s why, while cleaning the kitchen, make sure you get rid of cockroaches too. Cockroaches are not just embarrassing but also dangerous. They crawl into your kitchen through dirty places and hide in various corners. They spread food poisoning by contaminating food & utensils behind your back.

So, don’t let cockroaches turn you and your guests down. Use LAL HIT, the only solution that can kill even the hidden cockroaches with its unique ‘Deep Reach Nozzle’.

Controlling the pests is most important for health and hygiene, so #SayNoToFoodPoisoning today.

How do you welcome your guests? Any home decor tips or DIY you would like to suggest? Let me know in the comments below.

P.S: Image from Google

Four Yummy Homemade Body Scrubs

Four Yummy Homemade Body Scrubs
Many ingredients from your kitchen can be used to make yummy-smelling face, body, and foot scrubs at home. Start with a skin-friendly exfoliant, such as oatmeal, cornmeal, sugar, or salt. Then choose a moisturizing, binding ingredient. I recommend honey and avocado, which are non irritating emollients, for the face. Olive or coconut oil will work well on the body and feet, especially on dry, scaly, or flaky skin.

However, if you tend to get breakouts on your chest or back, skip the oils and stick with honey or yogurt.

You can add other ingredients as well, such as fresh citrus juice (which acts as an astringent) or cucumber (which soothes skin). For a more aromatic scrub, add some fresh herbs or a few drops of skin-friendly essential oils. I love dessert, so I like cinnamon or vanilla in my scrubs — if you’re a chocoholic, try adding cocoa!

Below are a few recipes to get you started on your own scrubs:

Simple Cinnamon-Vanilla-Oatmeal Facial Scrub
1/4 cup oatmeal
1/2 teaspoon cinnamon
1 teaspoon vanilla extract
2 teaspoons honey
1 tablespoon plain yogurt

Cornmeal-Citrus Facial Scrub
1/4 cup cornmeal
1 teaspoon fresh-squeezed citrus juice (lemon, lime, orange, or grapefruit)
2 teaspoons honey
1 drop ylang-ylang essential oil (optional)
1 drop ginger essential oil (optional)

Avocado-Strawberry-Sugar Body Scrub
1 cup sugar
1/4 cup mashed avocado
1/4 cup mashed strawberry
1 teaspoon olive oil
1 teaspoon honey
1 cup minced fresh basil
1 drop rose essential oil (optional)

Rosemary, Mint & Salt Foot Scrub
1 cup coarse sea salt
5 tablespoons olive oil
3 sprigs fresh rosemary (remove leaves from stalk)
1 cup minced fresh mint
3 drops peppermint essential oil (optional)

Mix ingredients together and gently scrub your face, body, or feet. Rinse with lukewarm water and pat dry.

Don’t they all sound so good enough to eat ! Yumm…the warm vanilla cinnamon..

Additionally you can scoop out a papaya or mango (or avocado) and save the fruit to eat later. Rub the inside surface of the skin all over your face and arms. The antioxidants and fruit enzymes will help soften your skin.

Source: 1

Whats your favorite homemade scrub ??