Tag Archives: indian skincare blog

Best of 2017 - Skin & Hair, Indian Beauty Blog

Best of 2017 – Skin & Hair

Best of 2017 – Skin & Hair

Hi guys,

2017 comes to an end, another year passed. It feels like yesterday it was 2010, no idea where time is running. As always, my 2017 skin and hair favourites are here. I have been doing this since 6 years now and this is the 7th year 😀

See the previous years lists here:

Now this list is not about only new products that have been launched this year. I include all my favourites, some which I have tried this year and some which are my Holy Grail since years. Basically all products which I have used the most in 2017. We will start with skin and hair today, and then move on to makeup.

Click on the links for complete reviews..

Skin:

Face WashAvene Cleanance Gel, Forest Essentials Delicate Facial Cleanser Kashmiri Saffron & Neem (It’s very gentle and perfect for daily use)

Cleanser/Makeup Remover: Bioderma Sensibio H2O Micellar Cleansing Water, L’Oreal Paris Micellar Water, Ciracle Absolute Deep Cleansing Oil, PixiXCarolineHirons Double Cleanse

Toner/Mist: Avene Thermal Spring Water, Pixi Glow Mist

Moisturiser: Guerlain Abeille Royale Youth Watery OilLa Roche Posay Effaclar Duo (when I break out), Pixi Beauty Glowtion Day Dew

SunscreenSuncros, Dr. Sheths Basic Brightening Daily Sunscreen (Lovee this!)

Serum: None, just oils

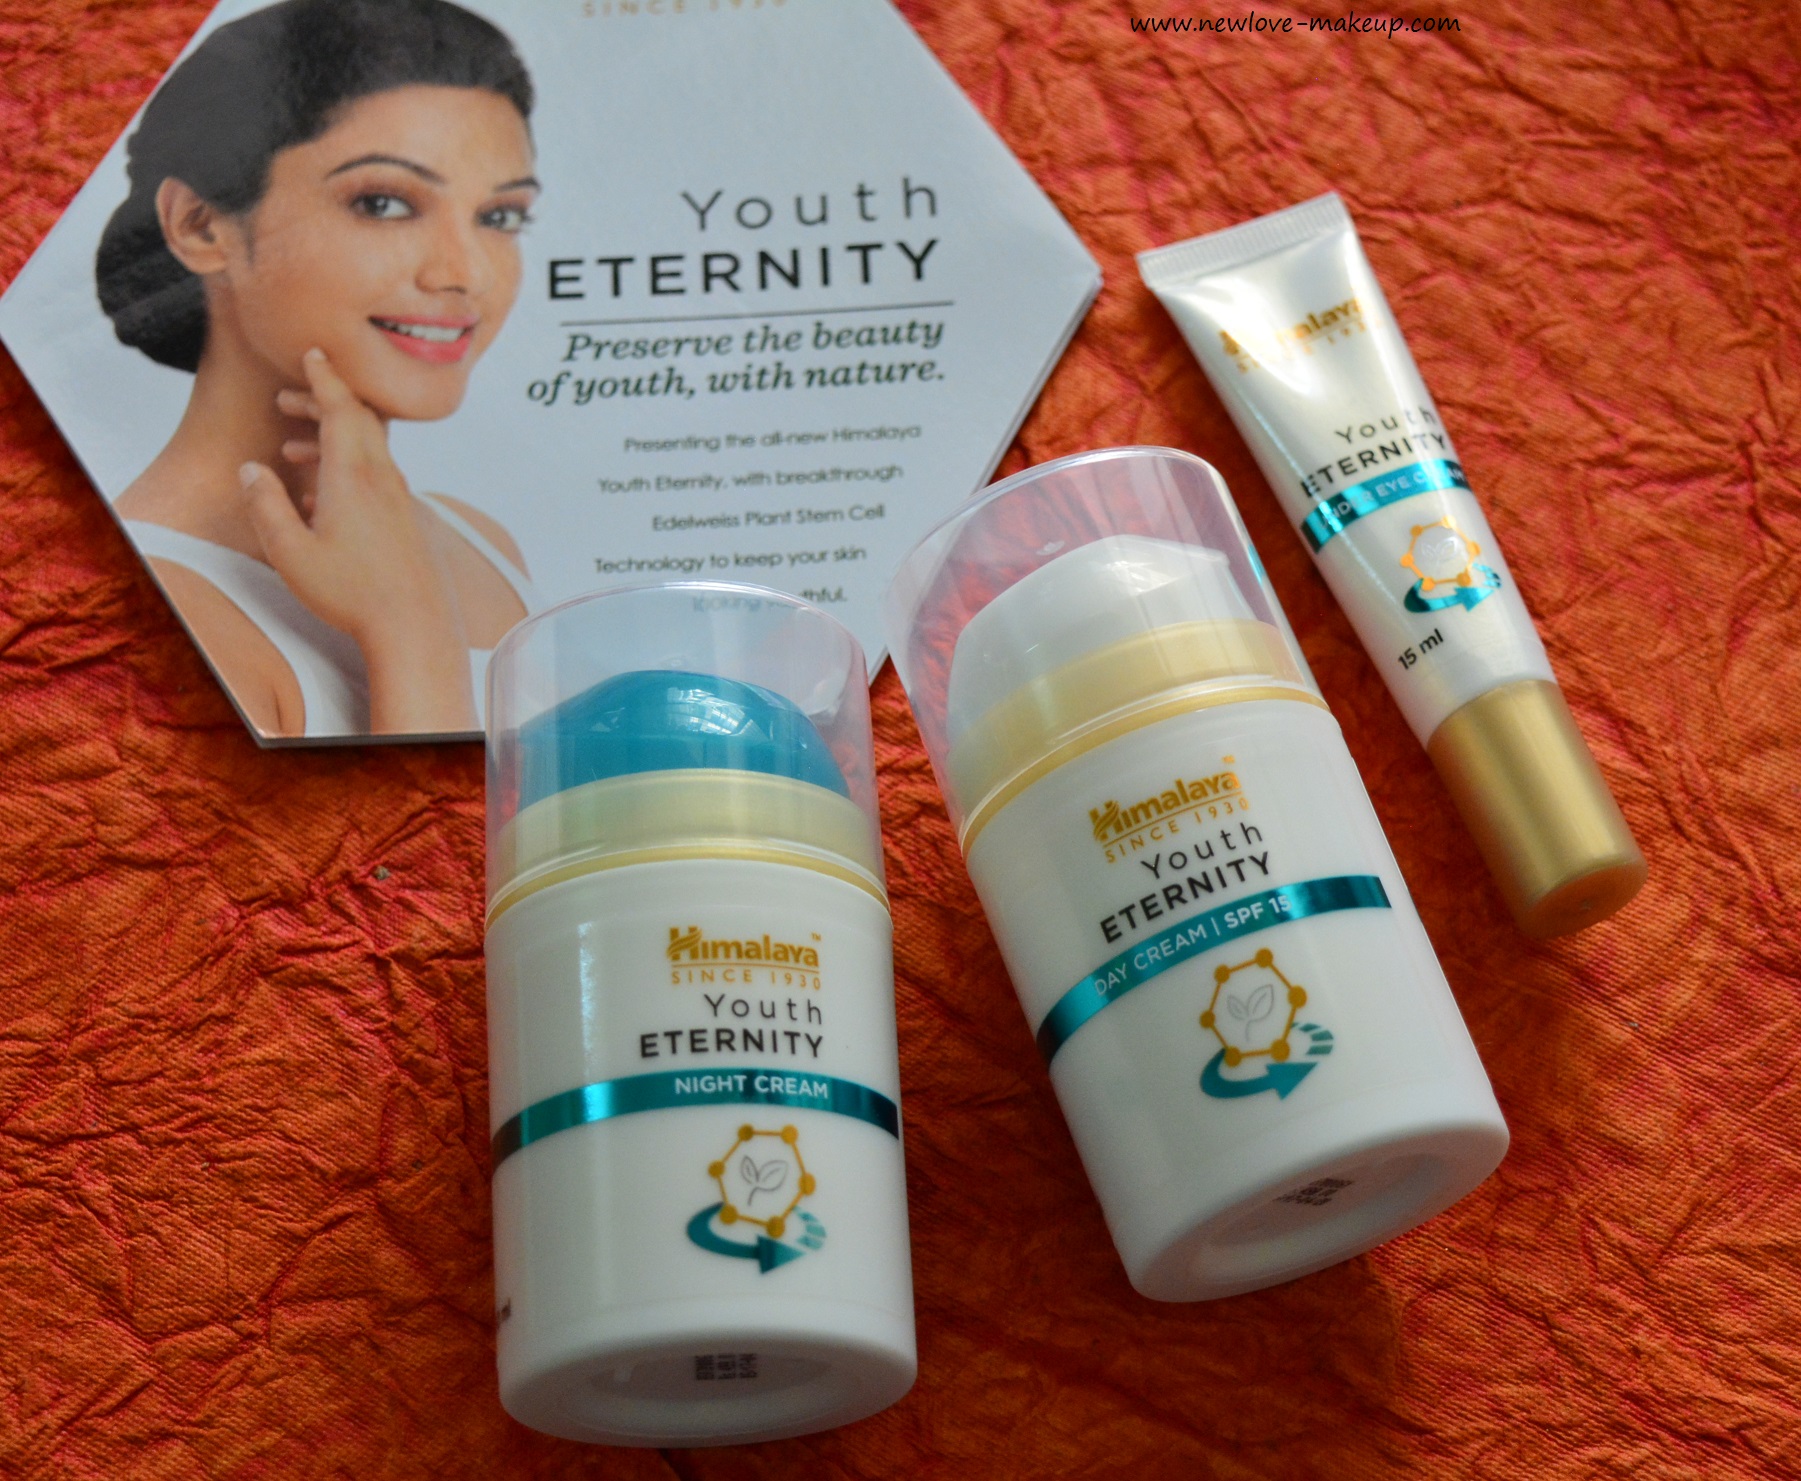
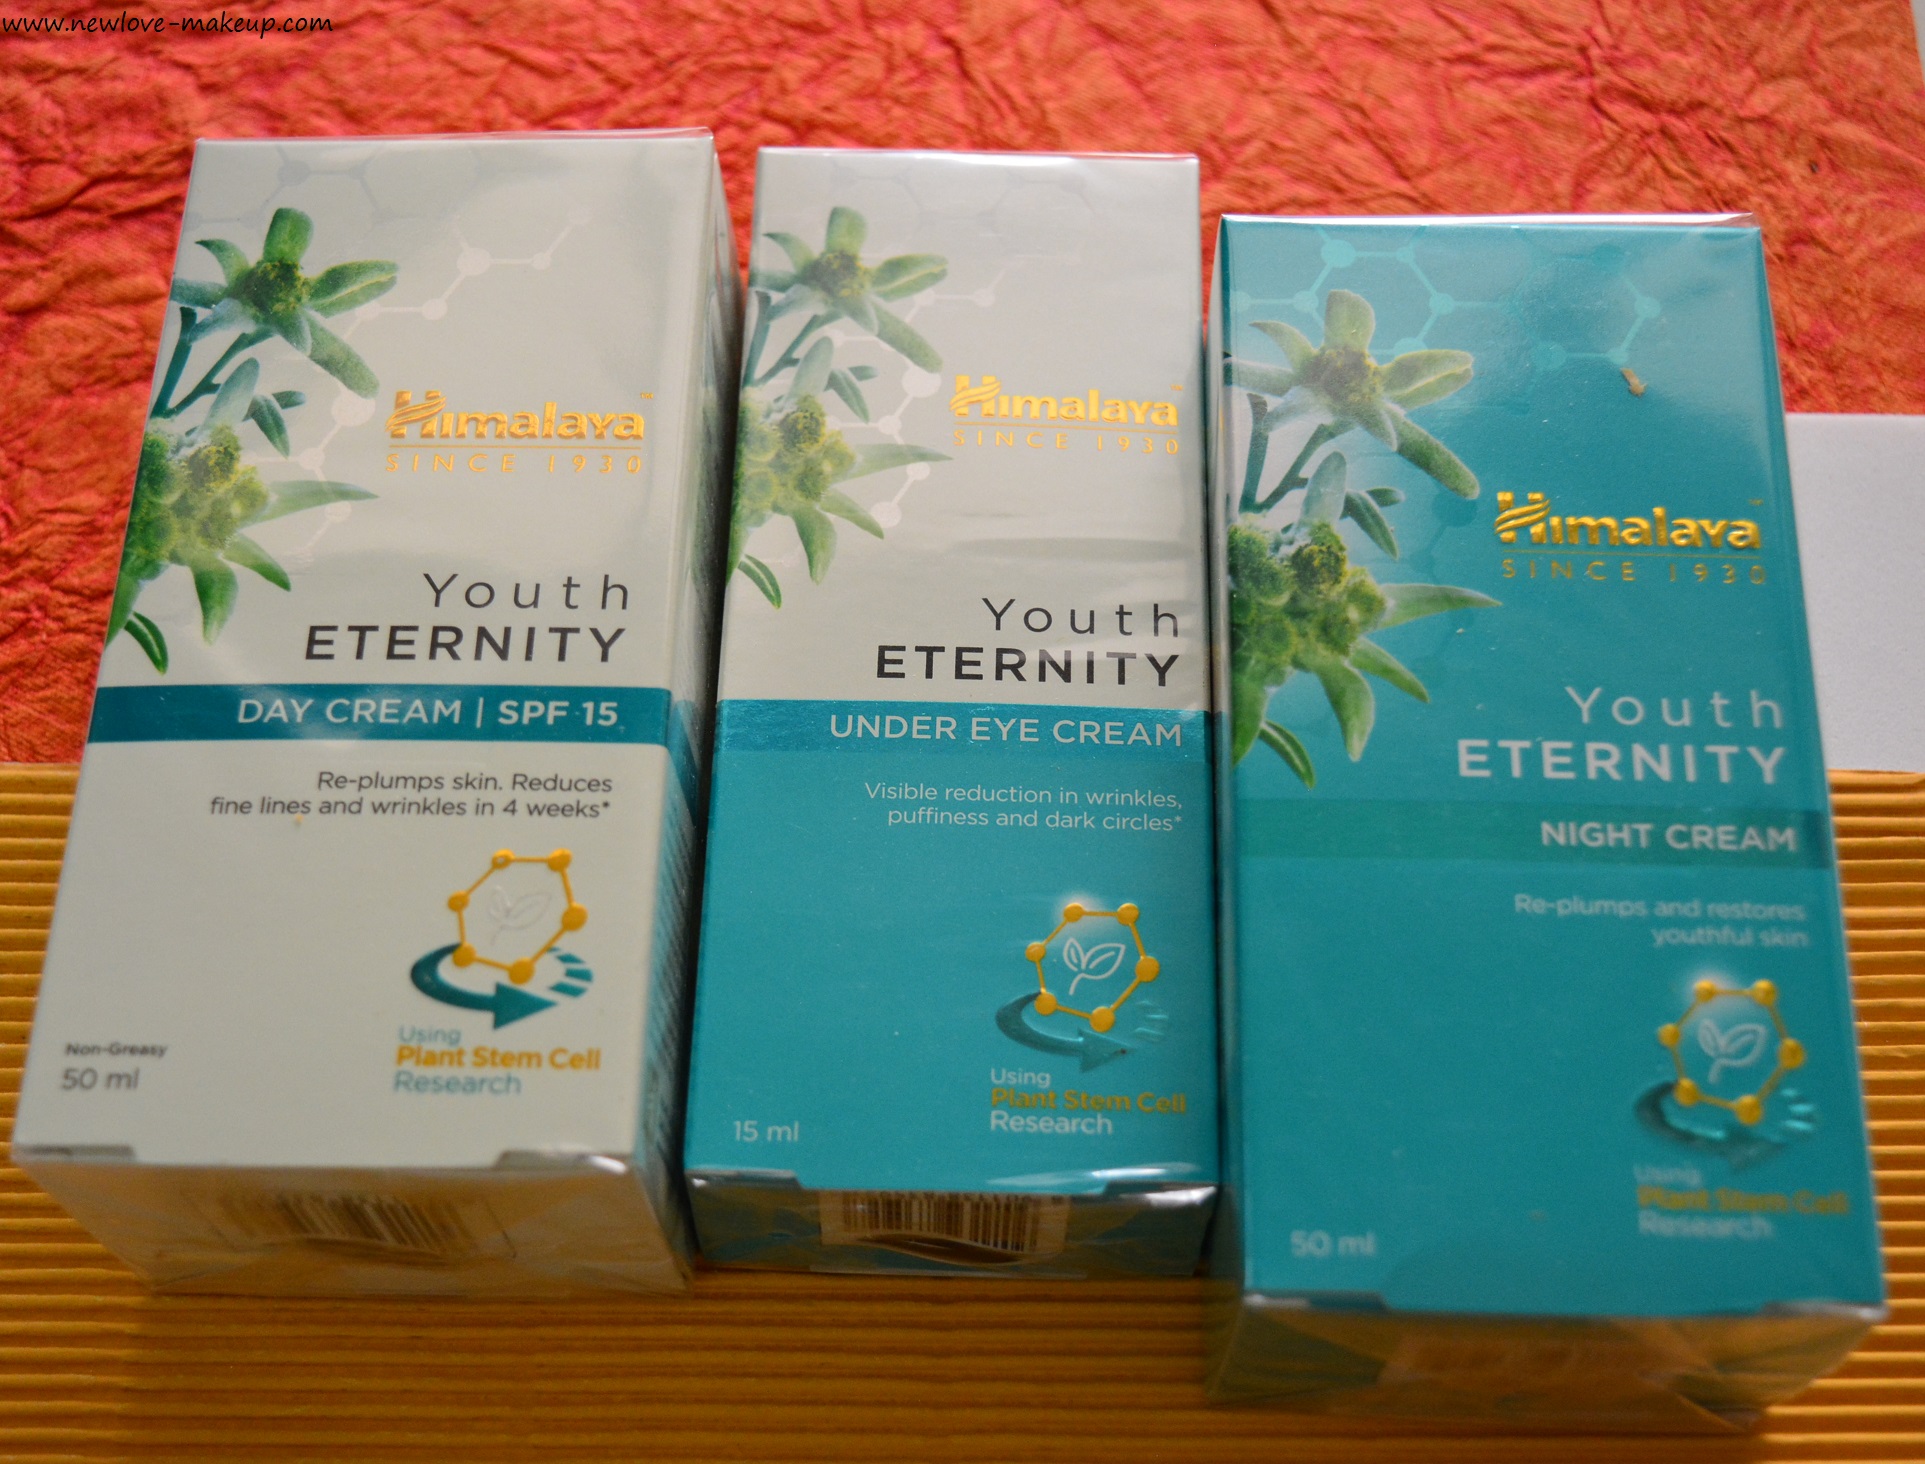
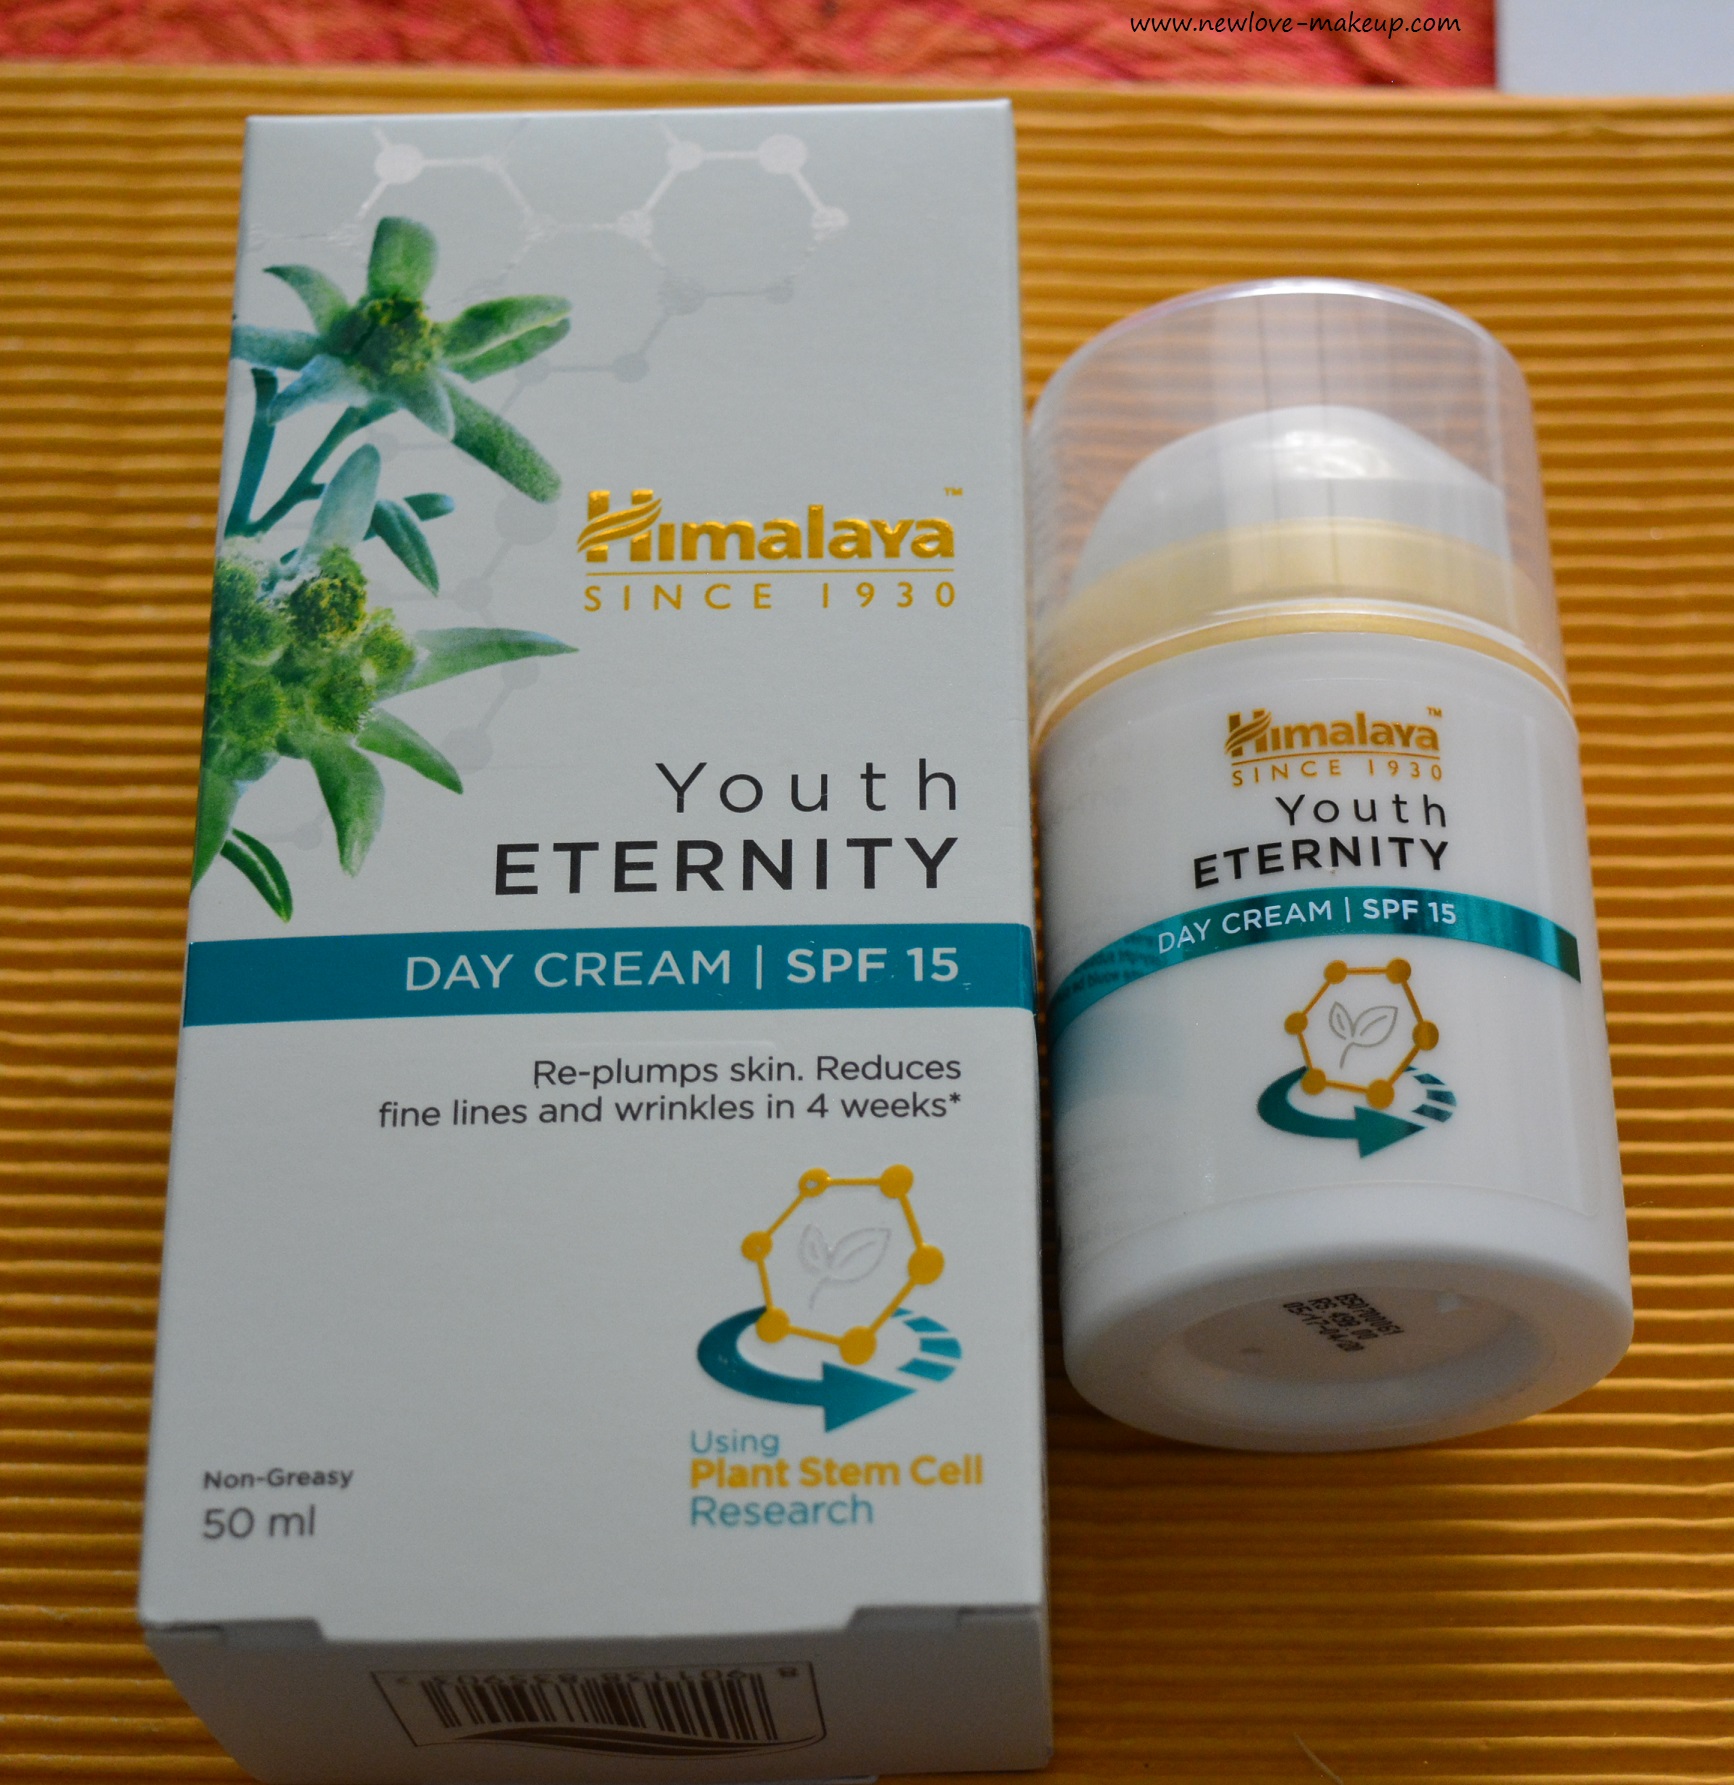
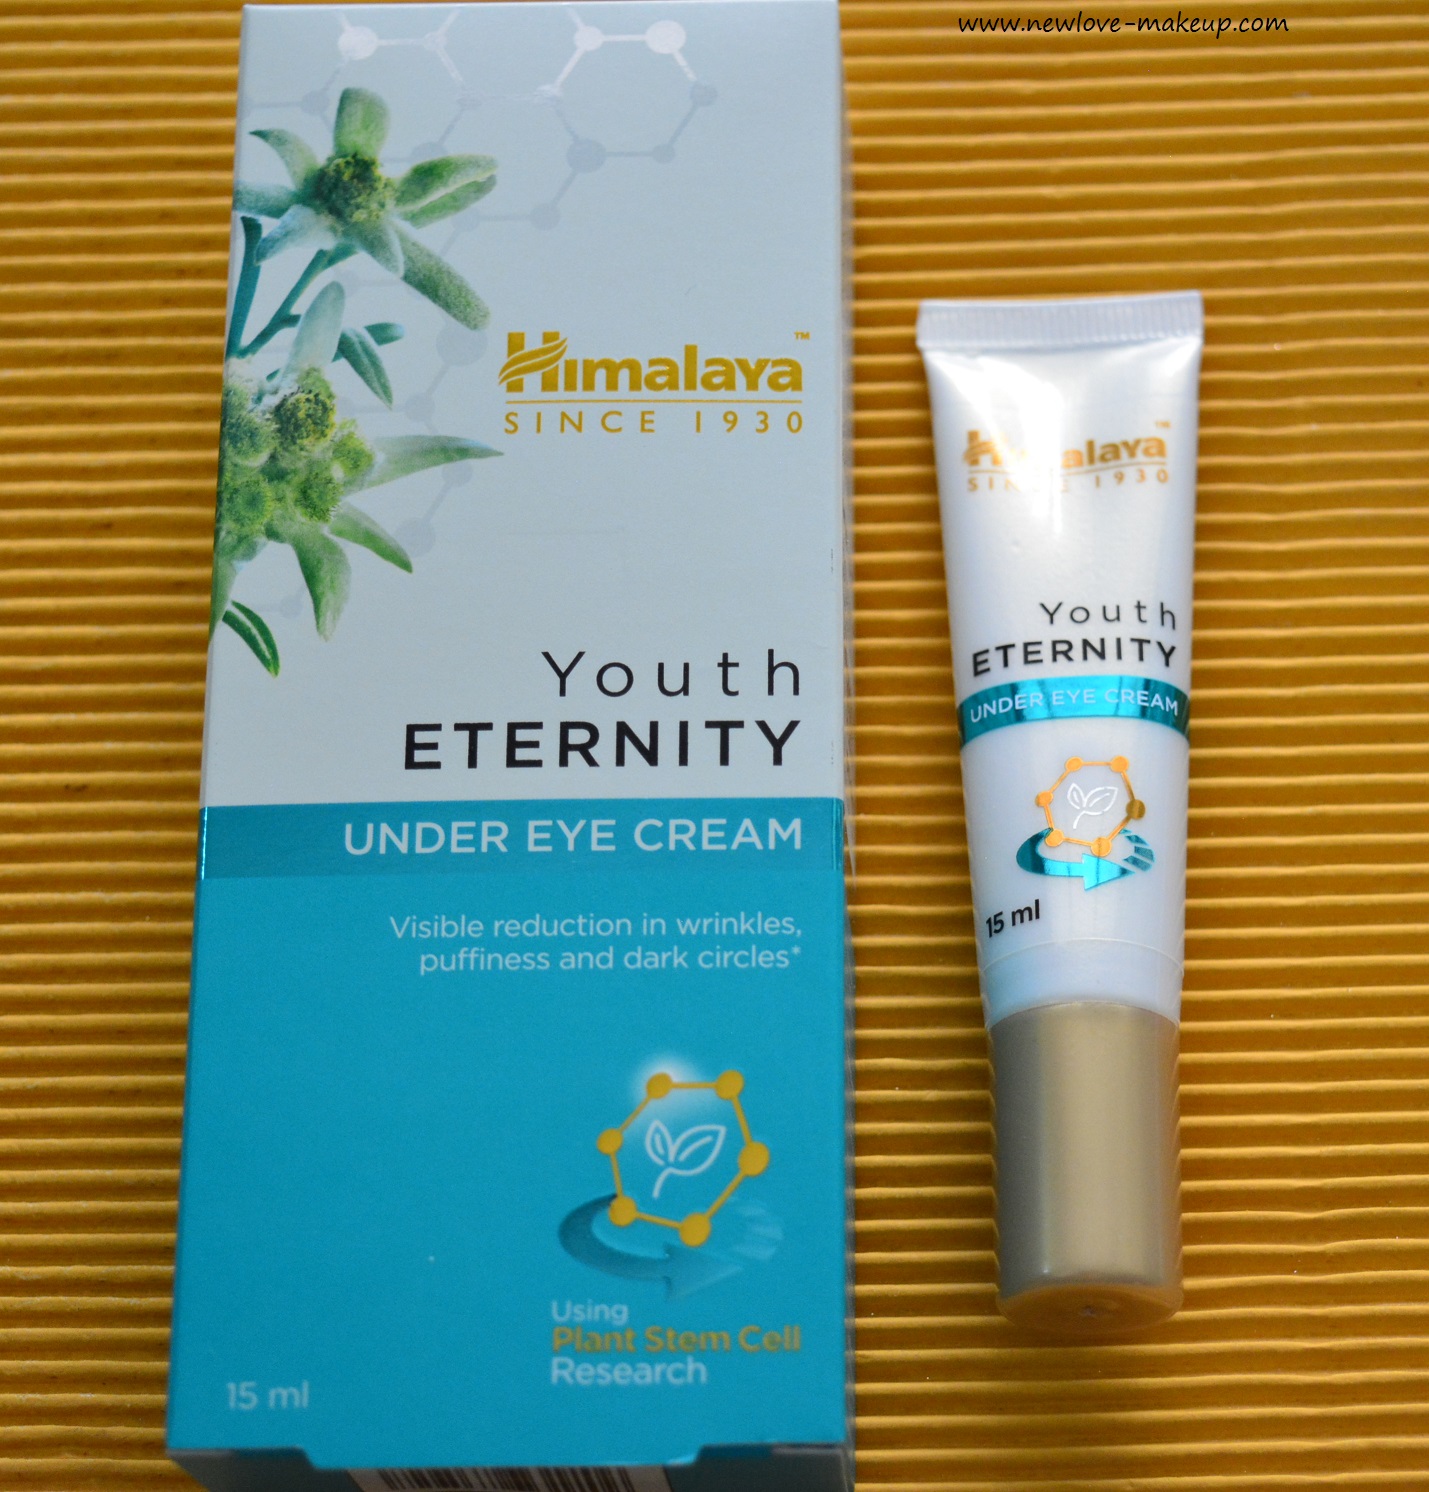
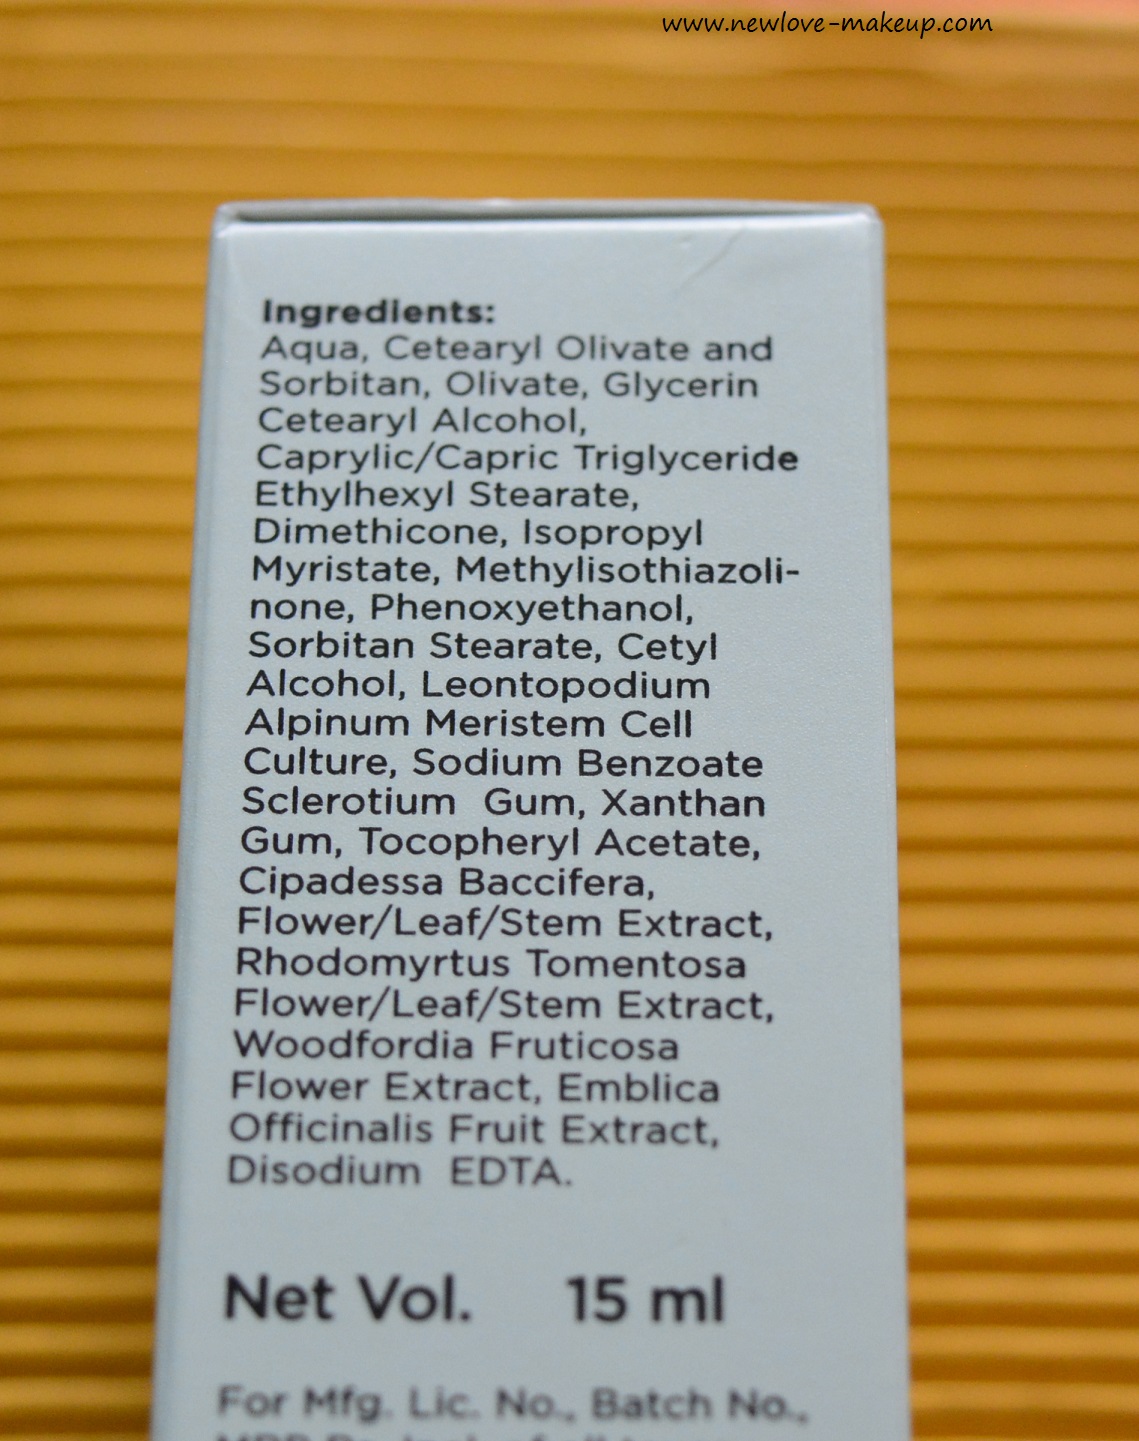
Eye cream: Himalaya Youth Eternity Eye Cream

Face Scrub: Clean & Clear Blackhead Clearing Daily Scrub, The Body Shop Tea Tree 3 in 1, Pixi Glow Tonic, Zenmed AHA/BHA Refining Scrub (more of chemical exfoliation this year)

Face Pack: Kawar Dead Sea Facial Mask, Korean sheet masks, The Body Shop Himalayan Charcoal Mask, The Body Shop Chinese Ginseng & Rice Mask

Face Oil: Guerlain Abeille Royale Youth Watery Oil (the same as moisturizer too)

Night Cream: Pixi Beauty Sleep Cream, Above face oil as night cream/serum/oil too.

Body Wash: The Body Shop Olive Shower Gel, The Body Shop Vanilla Chai Body Wash

Body Scrub: The Body Shop French Grape Seed Body Scrub (It’s amazing!)

Body Lotion/Body Butter: The Body Shop Japanese Camellia Body Cream (LOVEE), Biotique Winter Cherry Body Nourisher

Body Oils: The Body Shop Thai Makrut Firming Body Oil

Lip Balm: Biotique Bio Almond (highly recommend this!), Laneige Lip Sleeping Mask

Hair:

Oil: I didn’t oily my hair much this year 🙁 I should get back to it

Hair Scrub: The Body Shop Fuji Green Tea Hair Scrub

Shampoo: Sebastian Professional Penetraitt Shampoo (Lovee this!), Wella Pro Oil Reflections Shampoo, The Body Shop Fuji Green Tea Shampoo, L’Oreal Professionnel INOA Color Care Shampoo

Conditioner: Sebastian Professional Penetraitt Conditioner, The Body Shop Fuji Green Tea Conditioner

Deep Conditioner: Wella Pro Oil Reflections Mask, L’Oreal Professionnel INOA Color Care Mask

Serum/Leave in: Kerastase Elixir Ultime Beautifying Oil Cream, L’Oreal Professionnel Mythic Oil

Dry Shampoo: Wella EIMI Dry Me, Batiste Dry Shampoo, BBLUNT Spring Fling Dry Shampoo

Other Tools: Gillette Venus Razor, Face Razors for Dermaplaning

These were all the products I have used and loved the most in 2017. The categories and products have reduced compared to previous years. I realize right now I haven’t been using too much for skin care, in terms of masks or exfoliation. I used multi use products which work as moisturizer/serum/oil all in one. I think I was just plain lazy this year especially the past 3-4 months. I will try and take more care of my skin and hair the next year as I just turned 30 🙂 It is all the more essential for me now to stop being lazy and give my skin some TLC.

What about you? What are your 2017 skin & hair favourites? We will cover makeup next.

Aspirin in Skin Care, Benefits, Uses | Aspirin Face Packs for Various Skin Types

Aspirin in Skin Care, Benefits, Uses | Aspirin Face Packs for Various Skin Types

By Sanchita

When it comes to homemade face masks for acne prone, dry, oily, combination, pigmented, normal and various other skin types, we go for the kitchen ingredients like Honey, Milk, Besan, Lemon, etc. But have you ever wondered that Aspirin which is a common medicine for headache and fever can be an excellent remedy for skin problems which will work on all the skin types? Today’s post is all about Aspirin in Skin care and it’s benefits and uses. Also Aspirin Face Masks for various skin types

WHY ASPIRIN?

Aspirin contains the compound acetyl salicylic acid, a derivative of the salicin- naturally found in plants such as the willow tree. As we are all aware of the fact that Salicylic acid is an essential ingredient for treating acne and most of the acne control products has this Salicylic acid. It has antiseptic and anti-inflammatory properties which reduces acne effectively. Thus, for oily & acne prone skin and to remove the impurities from the pores, aspirin face masks work as a wonder. The various benefits of aspirin are listed down below.

  • Aspirin deep cleanses the skin when you gently scrub it, it helps to remove the whiteheads and blackheads.
  • It has antiseptic and anti-inflammatory properties that clams down the acne prone skin and prevents itchiness and redness.
  • It is also anti-aging that helps you to tighten the skin, fills in fine lines and smoothens wrinkles.
  • Aspirin helps in renewing dead skin cells & regeneration of skin, that makes it ideal for pigmentation problems such as age spots, sun tan and dark circles.

ASPIRIN FACE MASKS FOR VARIOUS SKIN TYPES

1. FOR OILY SKIN

Take a tablespoonful of aspirin powder (crush and make the powder of 5-6 aspirin tablets) and add half a tablespoon of activated charcoal powder. Add 1tbsp of rose water and form a smooth paste. Apply with the help of a brush even of the face and wash off after 20 minutes with cold water. The aspirin along with activated charcoal powder will absorb the excess oil from the skin without drying it out.

2. FOR DRY SKIN

Take two tablespoon of curd and one tablespoon of aspirin powder and form a smooth paste. Curd works excellent for dry skin and thus apply the face pack onto the skin and leave it for 10-15 mins. Wash off with normal water and pat the skin dry. Do this on alternate days to get smooth, hydrated and glowing skin.

3. FOR COMBINATION SKIN

Combination skin type can use the aspirin face pack alone. Simply crush and make the powder of 5-6 aspirin tablets or drop them into the water to form a smooth paste. Apply on face and rinse after 15-20 minutes. Do it at least twice a week for the best results.

4. FOR ACNE PRONE SKIN

Simply crush and make the powder of 5-6 aspirin tablets, add 2 drops of tea tree oil and one table spoon of water to form a smooth paste. Apply only on the affected areas. Wash off after 15-20 minutes and do it at least thrice a week for best results. Slowly the acne will fade away. Both aspirin and tea tree oil works like magic on acne prone skin.

More skincare DIY posts: Clear, Glowing Skin | Remove Tan & Dead Skin Cells | DIY Natural SkincareTry This Overnight DIY Serum For a Translucent GlowA Daily DIY Ubtan That Will Transform Your Skin Forever!

5. FOR AGING SKIN

Crush a bunch of aspirin tablets and add it to egg white to form a smooth paste. With the help of a brush, apply on the face evenly and wait for it to get dry. Once it starts to get dry it helps to firm up the skin, fill in wrinkles and smooth out fine lines on the face. Rinse off with warm water, pat dry and moisturize instantly. Do it at least twice a week for best results.

6. FOR PIGMENTED SKIN

Take 8-9 crushed aspirin tablets and add one tablespoon of apple cider vinegar. Form a smooth paste and apply evenly on the face. Leave it on for 20 mins and wash off with cold water. Pat dry and moisturize. Doing this three times a week will give you a glowing, even toned skin

7. FOR SUN BURNT SKIN

Take 8-9 crushed aspirin tablets and add one tablespoon of raw Aloe Vera Gel (use natural one preferably) and apply the paste onto the skin evenly with the help of a brush. The Aloe Vera along with the aspirin will soothe the sun burnt skin. Rinse off with cold water after 15-20 mins and apply any serum or gel on the face.

These are the amazing and easiest aspirin face packs for various skin types. I hope you try them out.

Have you tried Aspirin Face Masks before? Your experience?

Himalaya Youth Eternity Range Launch, Review

Himalaya Youth Eternity Range Launch, Review

Hi guys,

I attended the launch of Himalaya Youth Eternity Range last week and I have been using the products since a week now. The range consists of the Himalaya Youth Eternity Day Cream, Youth Eternity Night Cream and Youth Eternity Under Eye Cream. I had mentioned about these in all the new launches in India post.

The products have been specially formulated using stem cells from the Edelweiss Plant. The stem cells are combined with herbal active extracts of flowers like Rose Myrtle, Fire Flame Bush, Woodfordia and Cipadessia Baccifera, to hydrate and regenerate your skin.

Day Cream

Claims: The Himalaya Youth Eternity Day Cream is a breakthrough formulation based on Plant Stem Cell Research and exotic Herbal Actives. The Day Cream is light, non-greasy, fast- absorbing and consists of a powerful blend of botanical extracts that reduce fine lines and wrinkles, and re-plump your skin, leaving it looking healthier and younger. SPF15

MRP: 10ml Rs.99/-
20ml Rs.249/-
50ml Rs.499/- (Buy HERE for Rs.374/-)

Ingredients:

Night Cream

Claims: The Himalaya Youth Eternity Night Cream is a special blend of Edelweiss Plant Stem Cells, Woodfordia, Rose Myrtle, Cipadessa and Apple, rich in powerful antioxidants and polyphenols. The Night Cream works overnight to provide intense hydration, reduce fine lines and wrinkles, leaving skin even-toned, healthy and visibly youthful.

MRP: 50ml Rs.499/- (Buy HERE for Rs.374/-)

Ingredients:

Under Eye Cream

Claims: The Himalaya Youth Eternity Under Eye Cream is rich in anti-inflammatory properties and is a superior blend of ingredients like Edelweiss Plant Stem Cells, Woodfordia, Rose Myrtle, Cipadessa and Amla. The under-eye cream gently nourishes and hydrates the tender skin around your eyes, leaving it remarkably bright, healthy and youthful. 

  • Reduces crow’s feet, wrinkles and fine lines in 4 weeks
  • Antioxidants treat puffy, morning eyes
  • Visible reduction in under eye pigmentation and dark circles in 4 weeks

MRP: 15ml Rs.525/- (Buy HERE for Rs.393/-)

Ingredients:

For best results, use all three products in a routinely manner.

The plant stem cells technology is being used for the first time in skin care, and also all the other ingredients sound pretty promising. We also had a Q and A session with Dr.Harsha Bijlani, and the research and development person.

This range claims to not only reduce fine lines and wrinkles, but give a radiant, even toned, plump and healthy skin. I guess we all want that, don’t we. 

I love the packaging, it is very convenient and travel friendly. Both the day and night cream round pumps and the eye cream dispense the exact amount of product you need.

The eye cream is very light weight and gets absorbed in a minute. I start with the eye cream first and then use the day cream/night cream morning and night respectively. The day cream is slightly thick but blends in well and again gets absorbed in a minute. It does not leave the skin shiny or greasy but in fact gives a matte look. This works great under makeup too. Also it has SPF 15, so it is good enough to use indoors, if you are not stepping out.

Night cream is slightly richer and thicker, it moisturizes and hydrates the skin really well. Skin is completely matte and softer, plumper in the morning after.

Since the weather has gotten cooler and drier in the past week in Mumbai, I am really liking this range and it has kept my skin hydrated and moisturized. I will keep using it for 4 weeks and update you guys on the range. Untill now, my skin really likes the Himalaya Youth Eternity Range. I just wish the range was fragrance free, as that’s how I prefer my skin care to be.

I highly recommend trying out this range, and it’s available for a very decent price on Amazon.

Have you guys tried the Himalaya Youth Eternity Range yet?

P.S: This post is in collaboration with Himalaya

Clear, Glowing Skin for Diwali | Remove Tan & Dead Skin Cells | DIY Natural Skincare

Clear, Glowing Skin for Diwali | Remove Tan & Dead Skin Cells | DIY Natural Skincare

Hi guys,

This is how I prepped my skin today for Diwali, using all natural skincare available at home. So read on to know how to get clear, glowing skin for Diwali

Step 1: Gramflour + Turmeric + Rose Water

For step 1, I take a mix of 1 tbsp gram flour, 1/4 tsp turmeric and 2 tsp rose water. Do not add too much of turmeric as that would stain your skin yellow. Add more rose water if needed.

Gramflour (Besan):
– Absorbs Oil
– Removes Sun tan
– Gently exfoliates
– Removes dead skin cells

Rose Water:
– Calms and soothes skin
– Reduces irritation & redness

Turmeric (Haldi):
– Anti Bacterial & Anti Fungal
– Prevents acne
– shrinks existing acne

The mix of these three is amazing, and is also the ubtan we use for Haldi ceremony in Indian weddings. Apply the mix all over face and neck and keep it for 10-15 minutes till it completely dries. Then damp/wet your hands and scrub the pack. Keep adding water to hands and scrubbing, this will exfoliate the dead skin cells.

Step 2: Shaving https://www.youtube.com/watch?v=flYn8iL5X5w

I have done a detailed video on how and why I shave my face, linked above. Watch the video for more information, you can obviously skip this step if you don’t shave. You can pluck some stray hairs with a tweezer, if you wish to.

Step 3: Yogurt + Honey

For the final step, I take a mix of 1tbsp yogurt and 1tsp honey and mix it well to form a smooth paste. Apply evenly on face and neck and keep it for 10 minutes before washing off.

Yogurt:
– Lactic acid gently exfoliates, natural  AHA
– Softens the skin
– Moisturises & Hydrates
– Removes tan & dead skin cells

Honey:
– Anti Bacterial
– Softens & hydrates skin
– Humectant & excellent moisturizer

If you can find raw organic honey, that is even better! If not, honey that is available will do.

That’s it! Easy and quick, with all natural and easily available ingredients. I loved the results and my skin was instantly softer, smoother and hydrated. I could definitely see a visible glow, do try this out and let me know how it works for you.

Decoding the Korean Skin care: 8 Steps to flawless skin!!

Decoding the Korean Skin care: 8 Steps to flawless skin!!

By Ankita

When it comes to modern day skin care, Koreans are a step ahead. Korean skin care lines are flooding the Indian Market and NOT for no reason. Skin care is not just a regime for them, it is more of a ritual. They stick to their age old rule and result? Flawless, translucent skin.

Disclaimer!!! Of course, genetics and geography play an important role in determining skin condition, but hey! how you treat your skin has an equal impact on how it feels and looks.

So, here are the 8 essential steps that are basic to any Korean skin care regimen, broken down and simplified just for you.

1. Oil Cleansing:

Sounds scary? Oil cleansing has proven extremely beneficial all skin types when it comes to cleansing. The idea is to break down the dirt and impurities stuck in pores and wipe them off easily with a warm damp cloth. All you need to do is take a few drops of cleansing oil and massage it into your skin in upward and circular motion. Take a few minutes of steam or put a damp warm cloth on your face. Then wipe it off using the same cloth and you are all ready for the next step.

Product Recommendation: The Face Shop Rice Water Bright Cleansing Rich Oil

Price: 18$/Rs.3690 (Buy HERE)

2. Foaming Cleanser:

Oil cleansing removes all traces of makeup and other product built up. Using a foam based cleanser post oil cleansing ensures that all the residues impurities are stripped off and you get a clean canvas to work on. The added advantage is that your face won’t feel oily.

Product Recommendation: The Face Shop Herb Day 365 Cleansing Foam-Aloe

Price: 1530 INR (Buy HERE)

3. Exfoliator:

Exfoliation is the key to a smoother skin. Using an exfoliator removes the surface layer of dead skin cells and reveals a fresh skin. It is however very important to remember not to use an abrasive scrub. A gentle foam based exfoliator would do the trick. I stick to the rule of 2 times exfoliation per week, you can, however, increase the frequency with prior consultation with your dermatologist.

Product Recommendation: Innisfree Jeju Volcanic Pore Scrub Foam

Price: 2264 INR (Buy HERE)

4. Toner:

Tired of open pores? DO NOT skip on your toner. Toning balances the pH level of skin and helps in shrinking the size of pores. Some toners even have the added advantage of reducing inflammation and fighting acne. To get the maximum benefit out of it, take a cotton ball and gently dab it on your skin (not swipe) for a couple of times. Koreans even use these moisturizing toners for 7 times, as it adds the required hydration to the skin.

Product Recommendation: The Faceshop Mango Seed Silk Moisturizing Toner

Price: 1192 INR (Buy HERE)

5. Essence:

Although essence and serum are confused to be the same, they have some points of differences. An essence is traditionally a light weight, almost watery formula, with hoards of benefits. They target an overall skin condition, such as wrinkles, fine lines, and dull skin. Dab it gently into the skin. Leave it for some time, for the skin to soak in all the goodness.

Product Recommendation: MISSHA Time Revolution The First Treatment Essence

Price: INR 1770 (Buy HERE)

6. Sheet Mask:

Now, I believe I do not need to say tons about sheet masks. They are in a rave, convenient, efficient and all the blah. But trust all the blah is true! Sheet masks are cotton masks soaked in goodness and target a specific skin condition. All you need to do is, put them on for 15-20 minutes and wait for the magic to happen! Korean women swear by using one mask a day.

Product Recommendation: Innisfree Its Real Squeeze Mask Sheet Aloe

Price: 100 INR (Buy HERE)

7. Serum:

Now a serum, is somewhat, a first cousin of an essence. They are however thicker in consistency and address a specific concern such as anti-aging, skin brightening, and the sort. Serums are power houses and are more concentrated in nature. A pea size amount would be enough for the entire face.

Product Recommendation: The Face Shop Chia Seed Moisture Recharge Serum

Price: 1690 INR (Buy HERE)

8. Moisturizer:

So, we have arrived at the final step: Moisturization. A light weight cream ensures that the moisture stays locked up and gives the skin a final touch of glow. Again, there are a lot of moisturizers to choose from. But I would suggest going for something that is light weight and non comedogenic. This kind of cream ensures your face does not turn into a grease ball.

Product Recommendation: Innisfree The Green Tea Seed Cream

Price: 1750 INR (Buy HERE)

I really hope this article gave you an insight into the world of K-Beauty. Try these and let us know your thoughts on the same.

Any suggestion and comments are always welcome. 🙂

Red Sandalwood Pack for Glowing Skin – DIY

Red Sandalwood Pack for Glowing Skin – DIY

By Sanchita

My skin suddenly started getting dry and dull. There was always a glow but of lately I have seen it getting dull day by day. I have naturally oily and acne prone skin and therefore I never had to face skin peeling off my face. I tried facial oils and moisturizers but nothing could make a difference. I searched the internet for the ingredients and made this customized face pack. I have used this face pack throughout the winter and still using it. I noticed that with continuous usage, it kept my skin hydrated, glowing and pimple-free.

Read on to know how I prepare this face pack.

Ingredients

  • Besan/Gram Flour – 1tbsp.
  • Yogurt – 1tbsp.
  • Red Sandalwood Powder – ½ tbsp.
  • Rosehip Seed Oil (or any other facial oil that works for you) – few drops

Instructions

1. In a clean bowl, add 1tbsp. of Besan/Gram Flour.

2. Next, add ½ tbsp. Red Sandalwood Powder.

3. Add the 1tbsp. yogurt.

4. Add few drops of Rosehip Seed Oil. For extremely oily skin, you can also skip this step and add Aloe Vera juice instead.

5. With the help of a spoon, mix it well.

How to Apply

  • Always apply this face pack after cleansing your face. This will help the skin to benefit better from the ingredients.
  • Take a face pack brush and apply the face pack all over the face, leaving the eye area.
  • Keep it for 20-30 mins and wash off with cold water.
  • Pat the skin dry and apply a facial oil or moisturizer.

Benefits of The Ingredients Used

RED SANDALWOOD POWDER

First and foremost, it nourishes the skin and offers the glow and radiance. The skin remains oil free yet sufficiently hydrated and also helps to exfoliate gently. It also prevents excess secretion of oil, even out the skin tone, remove sun tan and soothes flamed skin.

MRP: Rs.199/- for 100g (Buy HERE)

YOGURT

Yogurt is rich in lactic acid which is an alpha hydroxy acid that dissolves dead skin cells. It hydrates the skin without making it oily, prevents breakouts and also helps to diminish the appearance of lines and wrinkles. Also, yoghurt helps to lighten the blemishes and pigmentation.

BESAN/GRAM FLOUR

Besan works magically for my oily skin. It is one of the best natural cleanser and helps to lighten the dark spots and acne scars. It reduces excessive oiliness from the skin and fight pimples naturally.

ROSEHIP OIL

Rosehip Oil is rich in vitamins and antioxidants, especially Vitamin C, Vitamin A (retinol), and linoleic and linolenic acids. It is the only facial oil that works wonder without making my face oily. It is anti-ageing and never broke me out. My skin was peeling due to dryness but this oil prevented and also brought back the radiance and glow to the skin.

MRP: Rs.549/- for 30ml (Buy HERE)

I hope you see the difference too, just like I did. Do let me know in the comments below, if you try it.

Editor’s Note: I will surely try it Sanchita, have to get rosehip oil now.

Have you tried red sandalwood based face packs?

Oxylife Natural Radiance 5 Crème Bleach Review

Oxylife Natural Radiance 5 Crème Bleach Review

Hi guys,

Summers are at it’s peak right now, as it’s May, the hottest month in India. And we all face a lot of skin problems in summers. Let’s talk a bit about that..

Skin problems we face in summers

The scorching summer heat, dust, pollution, stress and our lifestyle impact the oxygen levels in our skin. That brings along a lot of skin issues like

  • Dull Skin
  • Uneven Skin tone
  • Dead Skin Cells
  • Sun Tan
  • Dark Spots

Today I am reviewing the new Oxylife Natural Radiance 5 Crème Bleach. I am not someone who bleaches regularly, I was a little wary of bleaching and used to do it occasionally. I met Dr. Rashmi Shetty at an event and asked her about bleaching, if it is bad for the skin, and to my surprise, she said not at all. She said you just need to add moisture and hydration to the skin, if you take care of it, then bleaching does no harm.

So I am quite confident about bleaching now. I have used the Oxylife bleach previously, but not this new variant and I thought of giving this a try.

Claims and Features of Oxylife Natural Radiance Creme Bleach: Gone are those days when bleaching caused a row of sirens blazing in your head. With Oxy Life Natural Radiance 5 Crème Bleach, your skin will feel pampered like a queen.

  • Enriched with active oxygen and post bleach skin radiance serum, here’s a bleach wonder that will make your life easy
  • Helps in eliminating dark spots
  • Helps even skin tone and remove sun tan
  • Helps repair dull skin and cleanses dead skin cells
  • Suitable for sensitive skin

Oxylife Natural Radiance 5 Crème Bleach has patented German Technology – Oxysphere, which enables Pure Oxygen molecules to be penetrated inside the skin, giving it pure boost of Oxygen, leaving it naturally radiant.

It is also enriched with Vitamin E and Glycerin to help condition, brighten and nourish the skin and help solve 5 skin problems to give a naturally radiant looking skin.

MRP: Rs.35/- for 9g (one time use), Rs.80/- for 27g (3 uses)

Benefits of Bleaching

Bleaching helps add oxygen to the skin, making it brighter and helps in evening out skin tone and fading acne spots, etc. It also helps remove dead skin cells and repair dull skin, making it look more vivid and glowing. If you are targeting to eliminate acne scars and spots, you should do it regularly. Bleach can be used every 21 days.

How to use:

Oxylife is widely used in salons, and anytime I happen to go and ask them which bleach do they use, majorly it’s always Oxylife.

It comes with the creme bleach, powder activator, spatula, post bleach serum and an instructions manual. The creme bleach and powder activator is to be mixed in the ratio of 7:1. If you are not sure of the measurements, you can buy the one time use pack and mix both in the quantity given.

I have the 3 time use pack with me, and if you follow me on Snapchat, you must have already seen me using this.

You can mix the creme and powder in the dish that comes in the creme tub. Mix it well till the powder dissolves.

Steps of application:

  • Remove all makeup with a makeup remover and wash your face.
  • Pat dry with a tissue/paper towel.
  • Apply the bleach first on the Y zone i.e. the neckline, jaw and chin
  • Then on the the T zone i.e. the forehead, upper lip and nose
  • And in the last 5 minutes on the C zone i.e. the cheeks
  • Avoid eyes, lips, eyebrows completely. Keep it on for 10 minutes if you have deep skin, 15 minutes for wheatish skin and a little bit longer if you have fair skin.

I kept it for 10-15 minutes and washed it with normal water. I saw an immediate difference on my skin! Skin was more even toned and clear looking. The tan was all gone, and there was a fresh glow to the face.

It also works on dark spots, but with regular use, once every 21 days.

Few Pointers:

  • A patch test is recommended for first-time users.
  • Cleanse the skin well and pat dry, before use.
  • Creme Bleach and the activator powder should be used in the ratio of 7:1, Mix the crème bleach and powder activator for 2 minutes with the spatula provided till powder activator completely dissolves.
  • Apply the mixture on the area to be bleached.
  • Avoid application on eyebrows and around the eyes.
  • Wash off the application with water and Apply the post-bleach serum.
  • Bleach should be used once in every 21 days
  • Do not use soap/face wash for 5 hours after bleach.
  • Avoid going into sunlight immediately.

Why Oxylife Natural Radiance 5 Creme Bleach

It comes with the post bleach skin radiance serum that is very moisturizing. I can feel the glycerin in the serum and it hydrated the skin well. I do not use anything else on my face for about 12-15 hours and avoid going out. I would recommend bleaching in the evening, so that you can skip direct exposure to sunlight. Learn more about how to use oxygen bleach for face (OxyLife)

I love the fact that this is ammonia free. Whenever you bleach, go for ammonia free bleach only. My eyes get irritated and water a lot during bleach, and I was surprised that this did not irritate my eyes at all.

It fights all skin problems that come along with sun exposure, stress and pollution and gives a healthy looking radiant and glowing skin! Skin gets more oxygen, and it repairs dull skin and helps in fading acne scars/spots.

It comes in different sizes,  the one time use pack is perfect for travel too.

Overall, I am really happy with the results. It does what it claims, and I highly recommend trying this out.

Read more about Oxylife at www.oxygenforskin.com and check out their facebook page HERE

Have you tried the Oxylife Natural Radiance 5 Crème Bleach yet?

A Daily DIY Ubtan That Will Transform Your Skin Forever!

A DAILY DIY UBTAN THAT WILL TRANSFORM YOUR SKIN FOREVER!!!

By Ankita

Hello Mi Amigas

Today, I will spare you all my usual ramblings and get straight to the point. Reason? Can’t just wait to share it with you people. This really works!!!!! Ok, let me give you a brief analogy of my skin. I have a combination skin that tends to get oily in summers (and for some reason during "those" days of the month). Though I never had a serious case of acne, I used to get recurring pimples, every now and then. And those would leave nasty marks that just REFUSED to fade.

I tried a lot of DIYs, over the counter products and dermats. But in vain. Either it would dry my skin or make it even worse. Almost a month ago my skin started behaving extra naughty with pimples and eruptions on my forehead, chin, and some around the cheek bone. This is when I came across this awesome DIY daily face mask/ubtan recommended by my mother, which brought about a complete 180 degree change to my facial skin.

Results:

-My skin doesn’t AT ALL breakout

-It balances the oil on my skin

-I do not experience any dry patches

-Can definitely see a glow

-No more tans!!!

If you want to know more this recipe from my Mom’s kitchen please stay tune till the end 🙂

DIY DAILY UBTAN

You Will Need:

– 1 tablespoon neem powder

– A pinch of Wild Turmeric

– 1/3rd teaspoon Red Sandalwood Powder

– Enough raw milk to make a paste

How to make it:

1. Take a clean bowl and add the neem powder and red sandalwood powder to it

2. Measure and add about a pinch of wild turmeric.

3. Add in required amount of raw milk to make a paste

Application

1. Wash your face with a gentle cleanser

2. Run your washcloth under warm water and place it on your face till it cools down. Repeat this for 2-3 minutes.

3. Apply an even layer of the mask/ubtan on face and neck.

4. Leave it on till its semi-dry.

5. Wet your face with normal water and wash it off using very gentle circular scrubbing motions.

6. Pat dry your face with a clean towel and follow up with a gentle moisturizer or serum.

IS IT EFFECTIVE?

You can expect results such as

– instant glow on face

– brightening of dull skin

– removes tan effectively

– a subtle smoothness to skin.

-reduction in skin inflammation, pimple, and irritation if used on a regular basis

WHY THESE INGREDIENTS??


1. Neem: This humble plant has anti-fungal and antibacterial properties. Being a natural astringent it fades scars and keeps skin taught and smooth. Neem also contains salicylic acid that fights acne. Not to mention the carotenoids that give the skin a healthy and beautiful glow.

Available HERE

Priced at: 249 INR for 200g


2. Wild Turmeric: Also known as Kasturi Manjal, this has been a part of every ayurvedic skin remedy. It has anti-oxidants, anti-inflammatory, anti-septic and anti-bacterial properties. This is a champion when it comes to skin brightening and even fades away dark spots very effectively. On regular use, it is known to remove facial hair and render a smoothness to skin.

Available HERE

Priced at: 330 INR for 250g


3. Red Sandalwood Powder: Referred to as Rakt Chandan, it is a must in everyone’s ‘Puja Ghar’ Unlike its white cousin, it doesn;t have any aroma and comes with a reddish tinge. But do not be afraid, it doesn’t stain your skin. With its many medicinal properties, it nourishes the skin and gives it a more radiant, even, and age-defying complexion. It also helps to remove acne, scars and other signs of premature aging.

Available HERE

Priced at: 199 INR for 100g

4. Raw Milk: Raw milk works wonder for skin. Packed with B-vitamins, alpha hydroxy acids, calcium and other potent antioxidants, it nourishes skin cells from deep within and provides ample amount of moisture to the skin. The lactic acid present in skin, removes tan, fights free radicals and helps in maintaining an ageless look.

HOW OFTEN AND WHEN DO I USE IT

Using it before bath time would be a great idea, however, you can use it at any time of the day. Use this once daily to see great results in two weeks.

IS IT SAFE FOR SENSITIVE SKIN

It is 100% safe for any skin type, however, it is always wise to go for a patch test first. The reason I call this face pack an Ubtan is, it gives you that bright glow from within, making the skin look a 100 times healthier. I would HIGHLY recommend all my readers to try it once and see the magic.

Trust me, ladies, you are going to thank me for this. I would love to hear your experiences and comments regarding this ubtan. Stay hydrated and stay gorgeous 🙂

Editor’s Note: This sounds really good Ankita, I will definitely try this!

Have you tried DIY Ubtans at home?

Stubborn acne? Avoid these 5 foods! Results in a month!

Stubborn acne? Avoid these 5 foods! Results in a month!

By Ankita

Let’s start with a scenario today. It’s a beautiful morning and your alarm goes off. You wake up to a fresh new beautiful day, get off the bed, go to your bathroom, look at the mirror. And, there it is another tiny little bump on your face. Darn it!!! Not now! Not today! You got your big meeting at 11 and date at 8! You have tried every little thing. Serums, treatments even the dermats know you by name now.

Frustrating isn’t it? Been there, done that. Although my acne story was much different, as I never (touchwood) faced severe acne, but one of my closest cousins did. Last month she got married and we haven’t had been in touch for about a year lately. I don’t exactly know what magic potion worked for her but, there she was on her marriage day, without a bump on her face (before makeup) and glowing. I couldn’t help but ask her, what really worked for her.

Me: Hey, like…what did you eat? I mean you look gorgeous girl, not that you didn’t before but your acne problem..?

She: Haha..Nope ask me what I DID NOT eat.

Me: Okay, go on!! I am all ears.

And the conversation went on…

However me being the curious little Nancy Drew that I am, did a little bit of my own research to testify her words, and guess what? She was right

So, my lovelies here is my list of top 5 baddie food you should avoid when going through bouts of acne.

WOAAH WAIT WAIT!! HOW DOES THIS EXACTLY WORK??

Well, this is called the process off elimination. If you can’t find out what is causing your acne outbursts, try eliminating some food items from your diet that have a bad reputation of triggering acne. Otherwise healthy, these 5 foods can worsen existing acne.

1. Fast Food

I bet you love your plate of ‘Gol gappa’ and ‘Aloo tikka chaat’ with extra Mirchi. But hold on their sweetheart. Did you know greasy fast foods will leads to body inflammation that causes pimples appear?

Includes: Fish & Chips, Pizza, Burger, Fried chicken, Sausages, Noodles, Pasta, Noodles, Snacks & Desserts: Hot-dogs, Donuts, Potato chips, French fries, Crisps, Popcorn etc

2. Sugar

We all have our sweet tooth, and sometimes it’s too hard to resist. Excessive sugar intake shoots up your blood sugar level causing pimples. Try to avoid candy bars, sugary drinks as well as other sweets saturated with sugar. Follow this with dedication and you will soon see a major difference.

Includes: Sugars, Syrups & Sweeteners, Drink Powders & Soft Drinks, candies, cookies, pies and unfortunately everything yum!!!

3. Cow Milk

Cow’s milk not only shoots up blood sugar levels leading to pimples, it also leads to growth in hormones resulting in overgrowth of skin cell that leads to blocked pores. So, you might just want to avoid dairy products for a while and check if it does any good for your skin condition.

Includes: milk, cheese, yogurt, other cultured dairy foods, ice cream etc.

4. Coffee

Nothing wakes you up better than a freshly brewed cup of coffee. Ahh, the smell! But hold that thought. Science has shown that an organic acid inside coffee beans that raises cortisol levels.

Cortisol, also known as the stress hormone, can act like an androgen. It stimulates sebaceous glands and inflammation, a.k.a PIMPLES. You might want to skip that and check for some results

Includes: Expresso, mocha, latte, cappuccino, even the decaf versions

5. Soy:

Soy is one of the richest sources of protein you can lay your hands on. The natural plant oestrogen is found in soybeans. “Phytoestrogens” which are otherwise good, mimic natural oestrogen levels and play around with our hormones. Result? Acne and more acne. So if you are experiencing any bumps around your mouth and chin, the culprit MIGHT be soy.

Includes: Soybeans, soy milk, soy sauce, soybean oil, tofu etc.

SO YOU ARE BASICALLY TRYING TO STARVE ME TO DEATH.RIGHT??!!!

Not at all. All I am saying is, eating in moderation never hurts. Once you find out what triggers your acne, yes you definitely have to cut it out from your diet sweet heart.

A FEW TIPS FOR THOSE HORRIBLE PHASES OF ACNE:

1. Visit a good dermatologist, home remedies and DIYs do work, however, common guys those guys have sweated their brains out in med school for 5 years. Let’s give them some credit.

2. Keep your skin as well as belongings clean. Do not let any product build up on your face, neck as well as other affected areas. It is equally important to keep your sheets and phone germ-free.

3. Avoid using a lot of makeup ( I recommend no makeup at all!!!) for the time being. Although a lot of companies claim to be safe to use on any skin type, it is always better to let your skin breathe. Give it time to heal.

4. Check your stress levels. Now this one is the most difficult, at least for me. You all must be thinking “better said than done”. This one is coming from a person who has years of history of anxiety and depression on her sleeves. What helped? Yoga, meditation, and good life practices. Before I was a Life Coach, I used to be a wacko. If I can do it, you can too.

5. Keep your scalp clean and dandruff free.

6. Finally, have patience. I get it. I totally do. Dealing with acne can be a lot irritating, but don’t let that put you down. It might be difficult, not irreversible. And you cares if you have acne or not, you are gorgeous anyway!!

Hakuna Matata baby!!!

Any comments, suggestions and ideas are always welcome 🙂

“Imperfection is beauty, madness is genius and it’s better to be absolutely ridiculous than absolutely boring” – Marilyn Monroe

Editor’s Note: That’s a nice and informative post Ankita

Do you suffer from stubborn acne? Try eliminating these from your diet, I am sure you see a difference!

Try This Overnight DIY Serum For a Translucent Glow

TRY THIS OVERNIGHT DIY SERUM FOR A TRANSLUCENT GLOW

By Ankita

With the changing environment and lifestyle, there is no escaping from skin issues. The good old CTM works, no doubt. However is it good enough? I won't agree to that. Hence, serums came into being. The usual cleansing-toning- moisturizing regime is now better replaced by cleansing-toning- TREATing-moisturizing. This is where the serums come into action. You can pretty much say in an Army of soldiers, they are the marines, employed for specific target oriented operations. Let’s have a look at them,

WHAT IS A SERUM

Face serums are lightweight moisturizers with a gel or light lotion consistency and have a higher concentration of ingredients meant to provide more effective and focused results.

HOW TO USE

These are used after cleaning and toning then face. Pat on the serum on with the help of your finger, gently dabbing and pushing it into the skin

SO…I CAN SKIP MY MOISTURIZER RIGHT?

Absolutely not. Serums are an addition to your CTM (Cleansing-Toning- Moisturizing) and no way substitute a moisturizer. They have targeted action and address a specific skin issue such as acne, hyper-pigmentation, aging etc.

There are tons and thousands of serum available in the market, and I won’t deny they don’t work. They definitely do. But, wait for it!!!What if I told you, you can make one in a jiffy, that won’t cost you gazillion bucks and works just as fine as any other serum? Actually more than fine. Shall I say….works BRILLIANT.

Ready? Ladies and Ladies, I give you my magic potion

DIY OVERNIGHT GLOW SERUM

YOU WILL NEED:

-4 drops of Virgin Coconut Oil

-4 drops of pure rose water

-a pea sized amount of pure aloe vera gel

PROCEDURE:

1. You do not need a bowl for this as it is better to use it fresh every day. Take 4 drops of Virgin Coconut Oil on your palm.

2. Add in a pea sized amount of aloe vera gel

3. Now finally add in 4 drops of rose water and mix all the ingredients with your fingers till they become an emulsion.

HOW TO APPLY

1. Dot it all over your face and neck and massage with very light hands in upward-outward motions, till you are satisfied that the skin has completely soaked in the product.

2. Follow up with a very light weight moisturizer and have off you go to bed Sleeping Beauty.

IS IT EFFECTIVE?

1. This serum works greatly towards brightening the skin and especially fading away dark spots.

2. Gives you healthy illuminating glow.

WHY THESE INGREDIENTS??

Virgin Coconut Oil: Cold pressed Virgin Coconut is a boon for the skin as it helps to improve certain skin conditions by healing wounds and reducing rashes. Its anti-inflammatory effect works wonders for soothing skin ailments. VCO contains Lauric Acid that helps to combat acne and even is a great whitening agent.

Priced at: 350 INR for 500ml (Buy HERE)

Rose Water: With its anti-inflammatory and skin soothing properties, rose water is the life saver for irritated skin. Apart from being an excellent skin toner, it also brightens up the complexion and makes the skin more radiant and even.

Priced at: 150 INR (Buy HERE)

Aloe Vera: Aloe Vera contains vitamins, minerals, amino acids and antioxidants that work wonders for the skin. Application of aloe vera speeds up the process of healing of burns, lightens blemishes, reduces acne and also prevents wrinkles. It even acts as a great natural moisturizer.

Priced at: 250 INR for 100ml (Buy HERE)

HOW OFTEN AND WHEN DO I USE IT

Use it once a day, before you go to bed. You have to be consistent with the use to see great results, in less than a month.

IS IT SAFE FOR SENSITIVE SKIN

It is 100% safe for any skin type, however, it is always wise to go for a patch test first. In case you experience any irritation (which most probably you won’t), do not use it further.

Here is a little after picture of me. Unfortunately, I don’t have any before picture as I had never planned to write this piece. After a month of usage, it has reduced my marks and scars to a good extent.

In this image, I have washed my face with cold water, put on some lip gloss and tight-lined my upper lash line.

Why spend a portion of your kidney, if you can have it done at the comfort of your kitchen? Without a question of doubt, I honestly ask my dear readers to give this DIY serum a try and see the results for yourself.

However, you must not forget these few pointers:

1. Cut out processed food as much as possible from your diet.

2. Stay hydrated and stay away from aerated drinks

3. Nothing!!!!!can substitute a good beauty sleep of 6-7 hours.

Please come back and let me know your experience with this serum. Any suggestions, comments, and ideas are always welcome 🙂

Editor’s Note: You have amazing and flawless skin Ankita. I love DIY’s and would be surely trying this too.

Do you love trying DIY’s? Will you try this?